
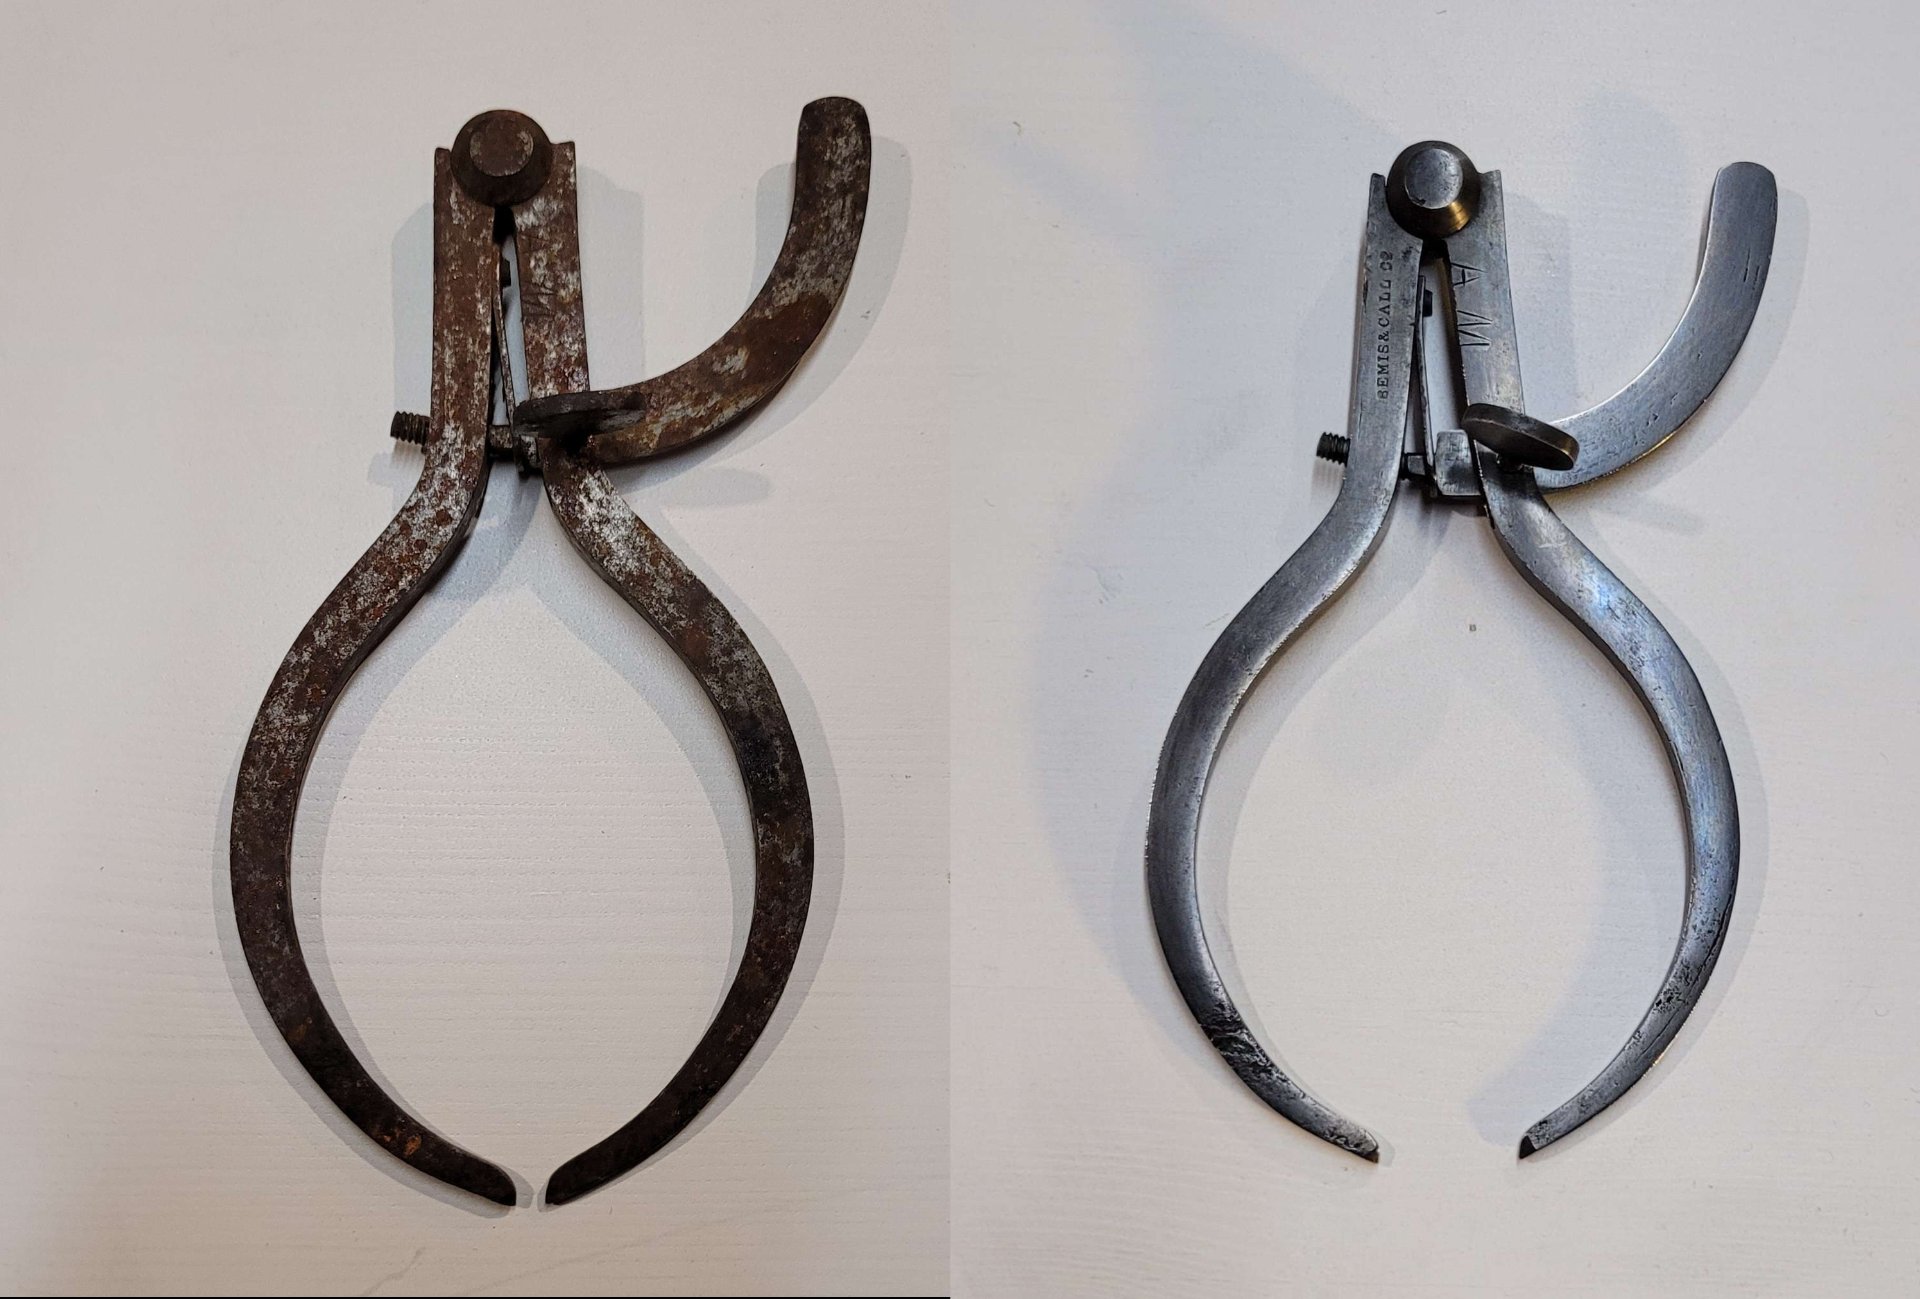
I bought this set of outside calipers at a junk store in my hometown (sort of a consignment, thrift store deal, with lots of old furniture, and the contents of like half a dozen garages right down to the old jars of mismatched screws. I sort of use it like a hardware store).
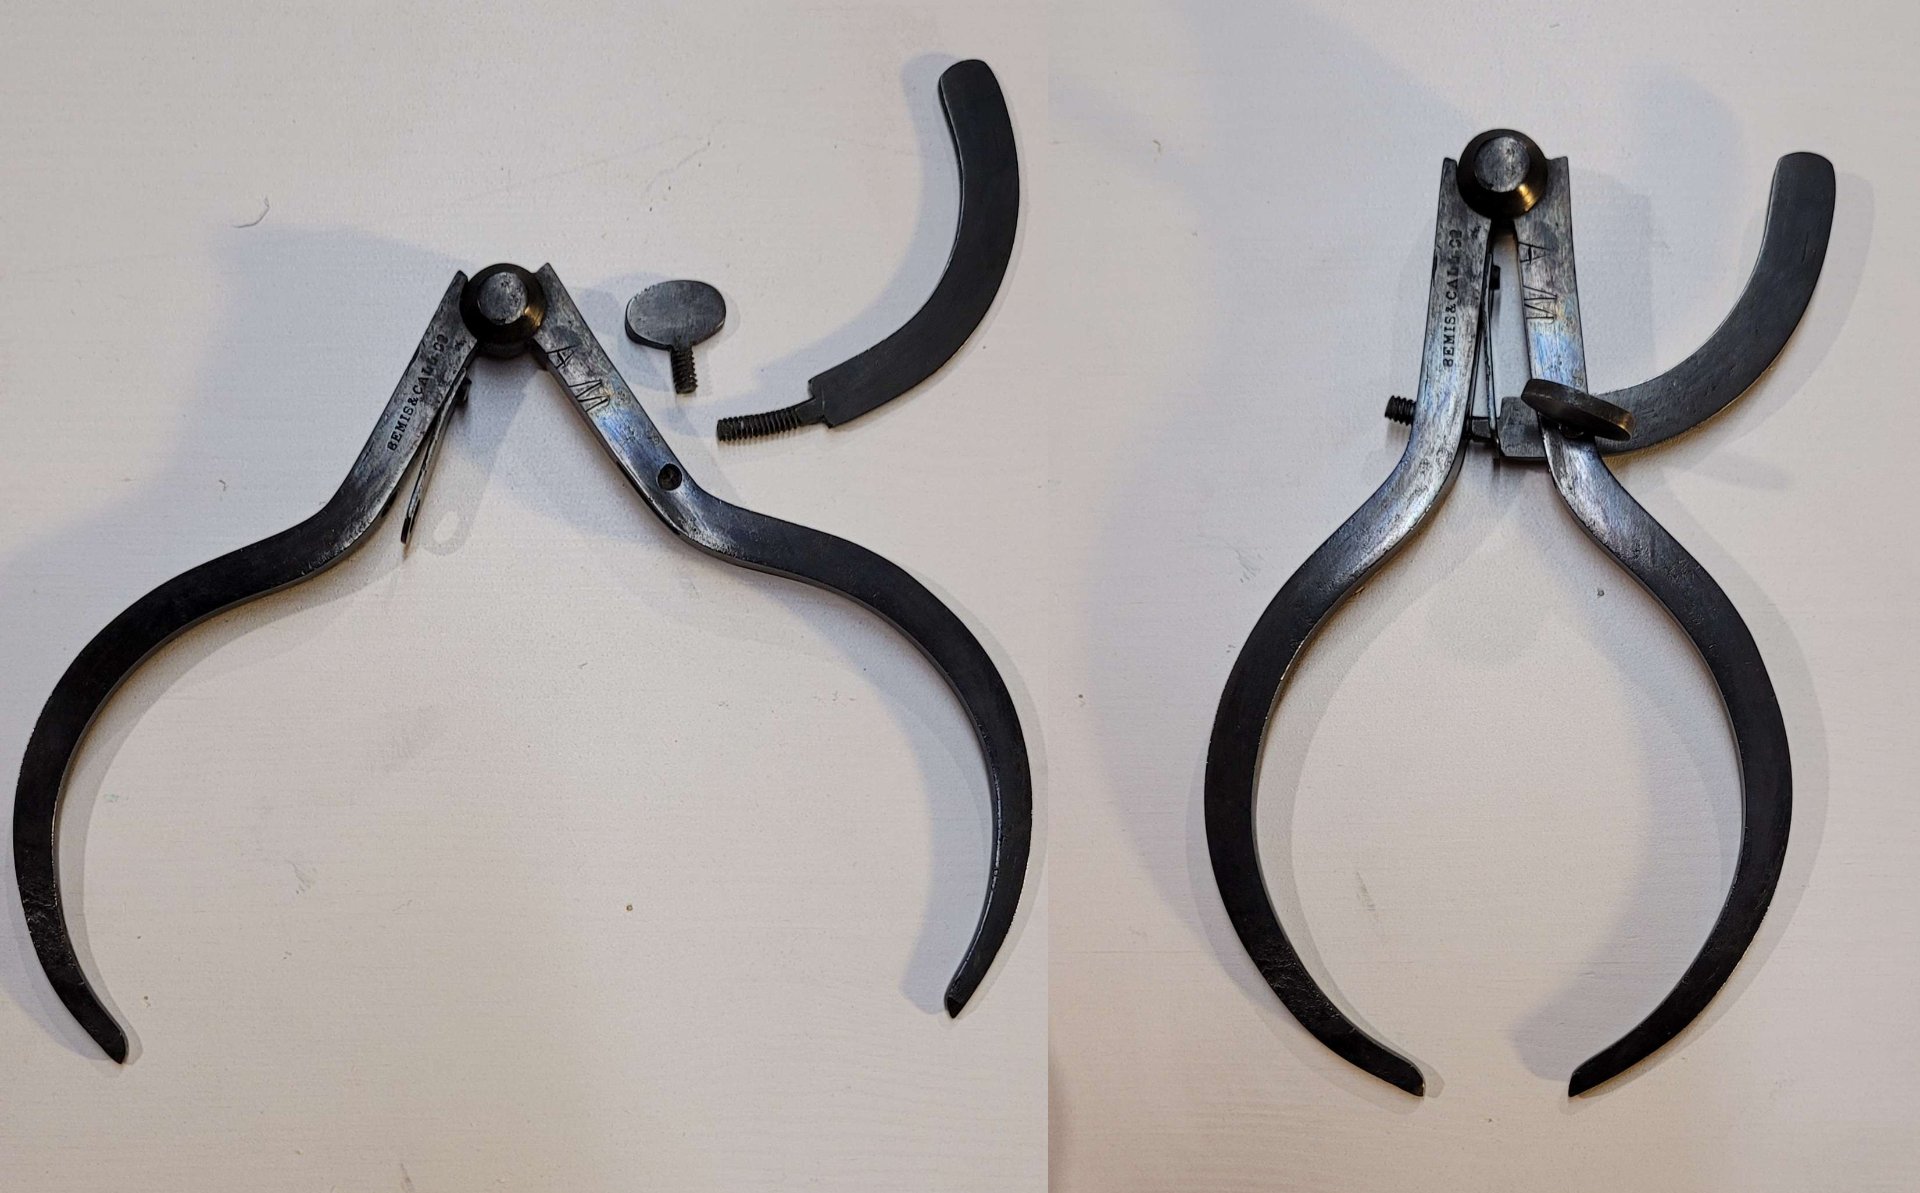
I like this design a lot, I like the lack of a spring on the jaws, and that you can fasten the little distance measuring arm to the side it measures on, so you can close the calipers around something, tighten that wing screw, then open the calipers to get them back.
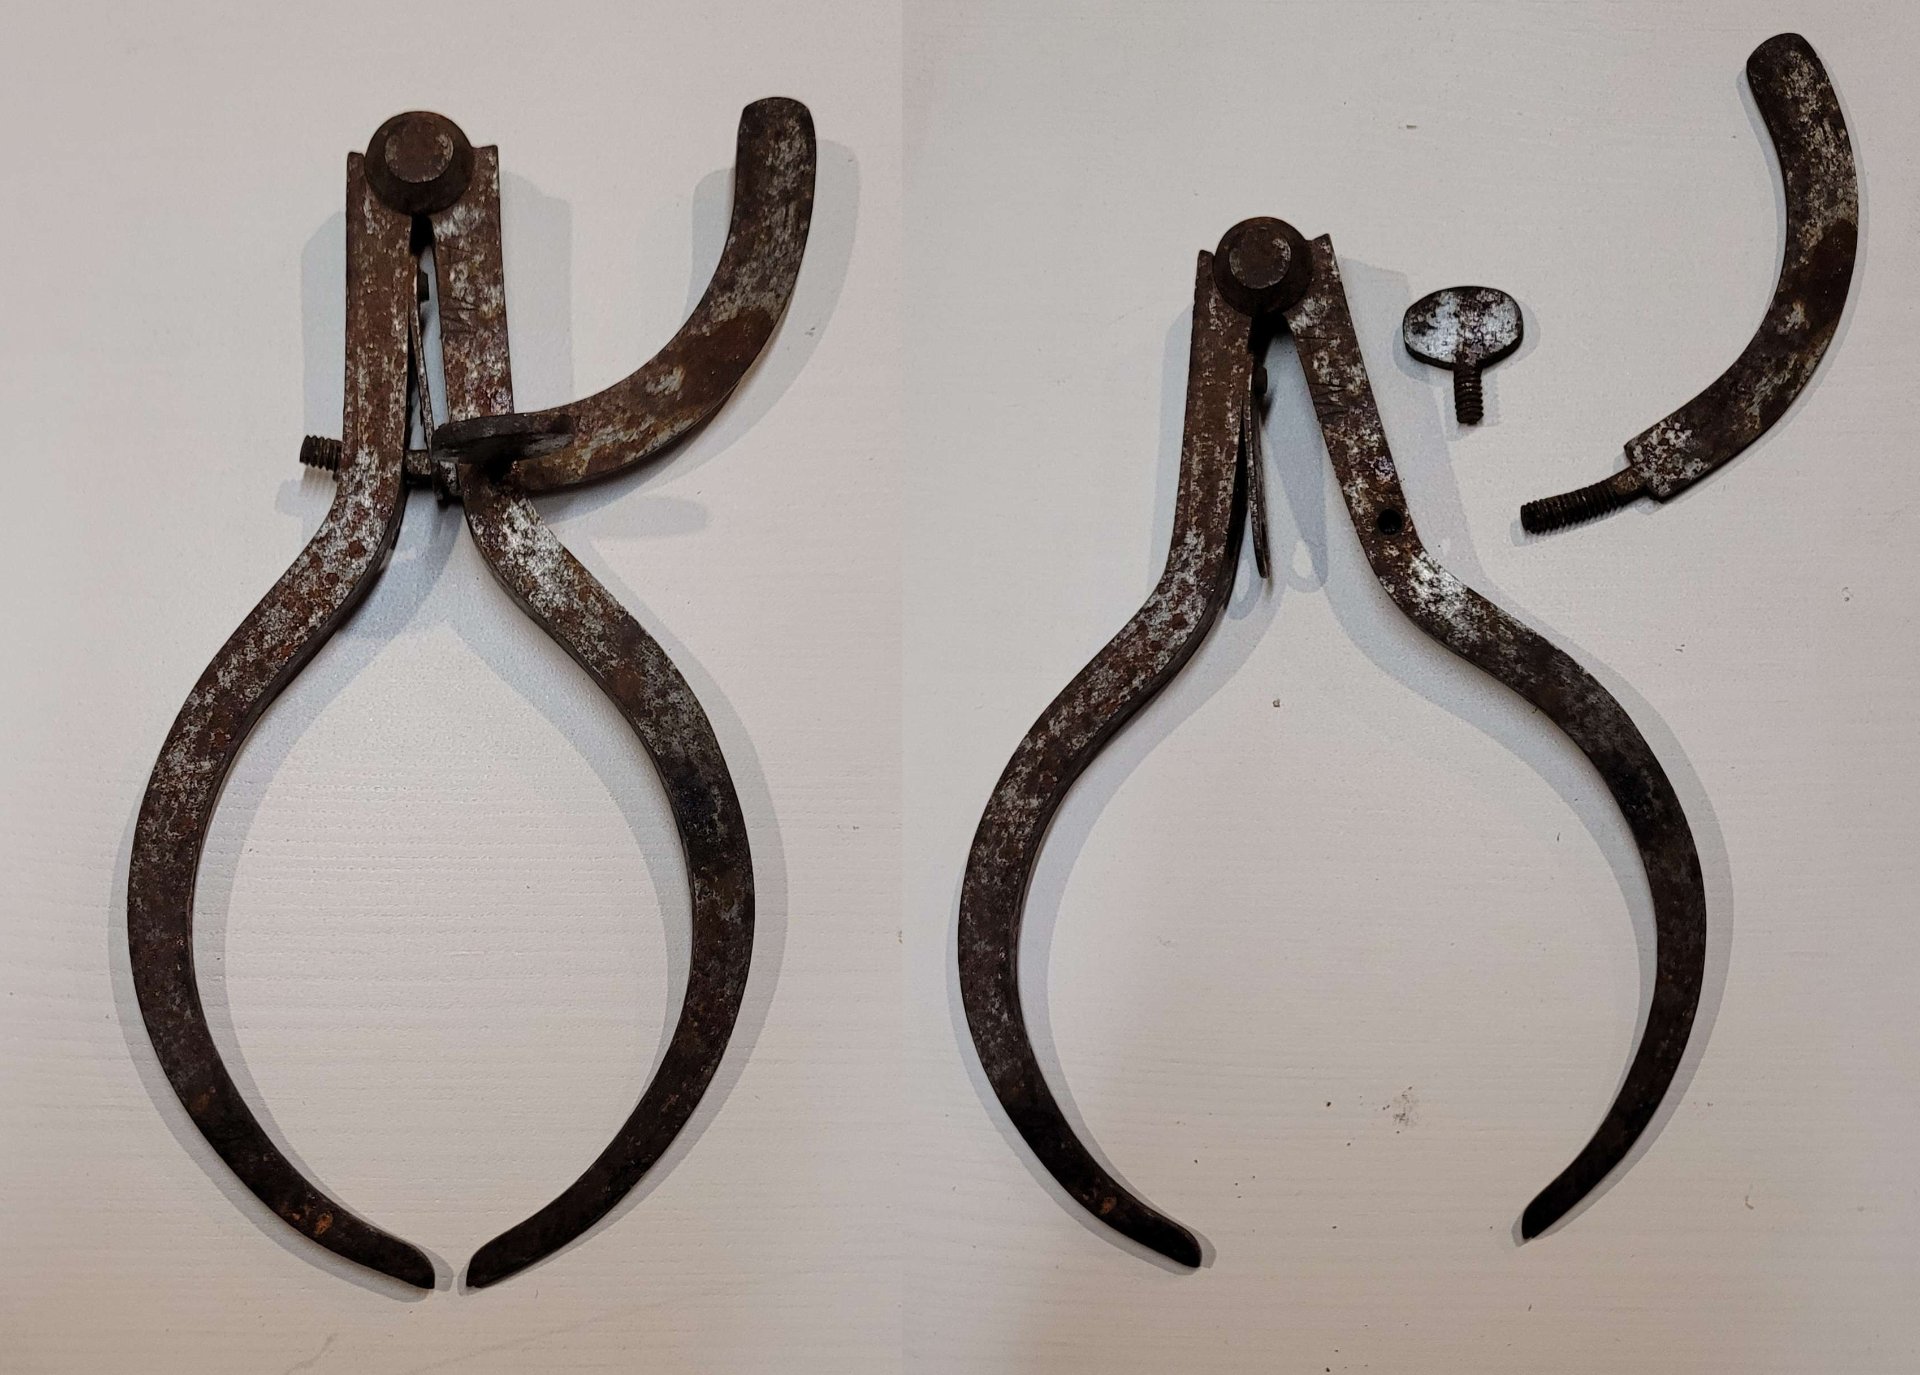
They had some surface rust, so I decided to clean them up. The first step was to disassemble them. Not difficult when there’s only three pieces involved.
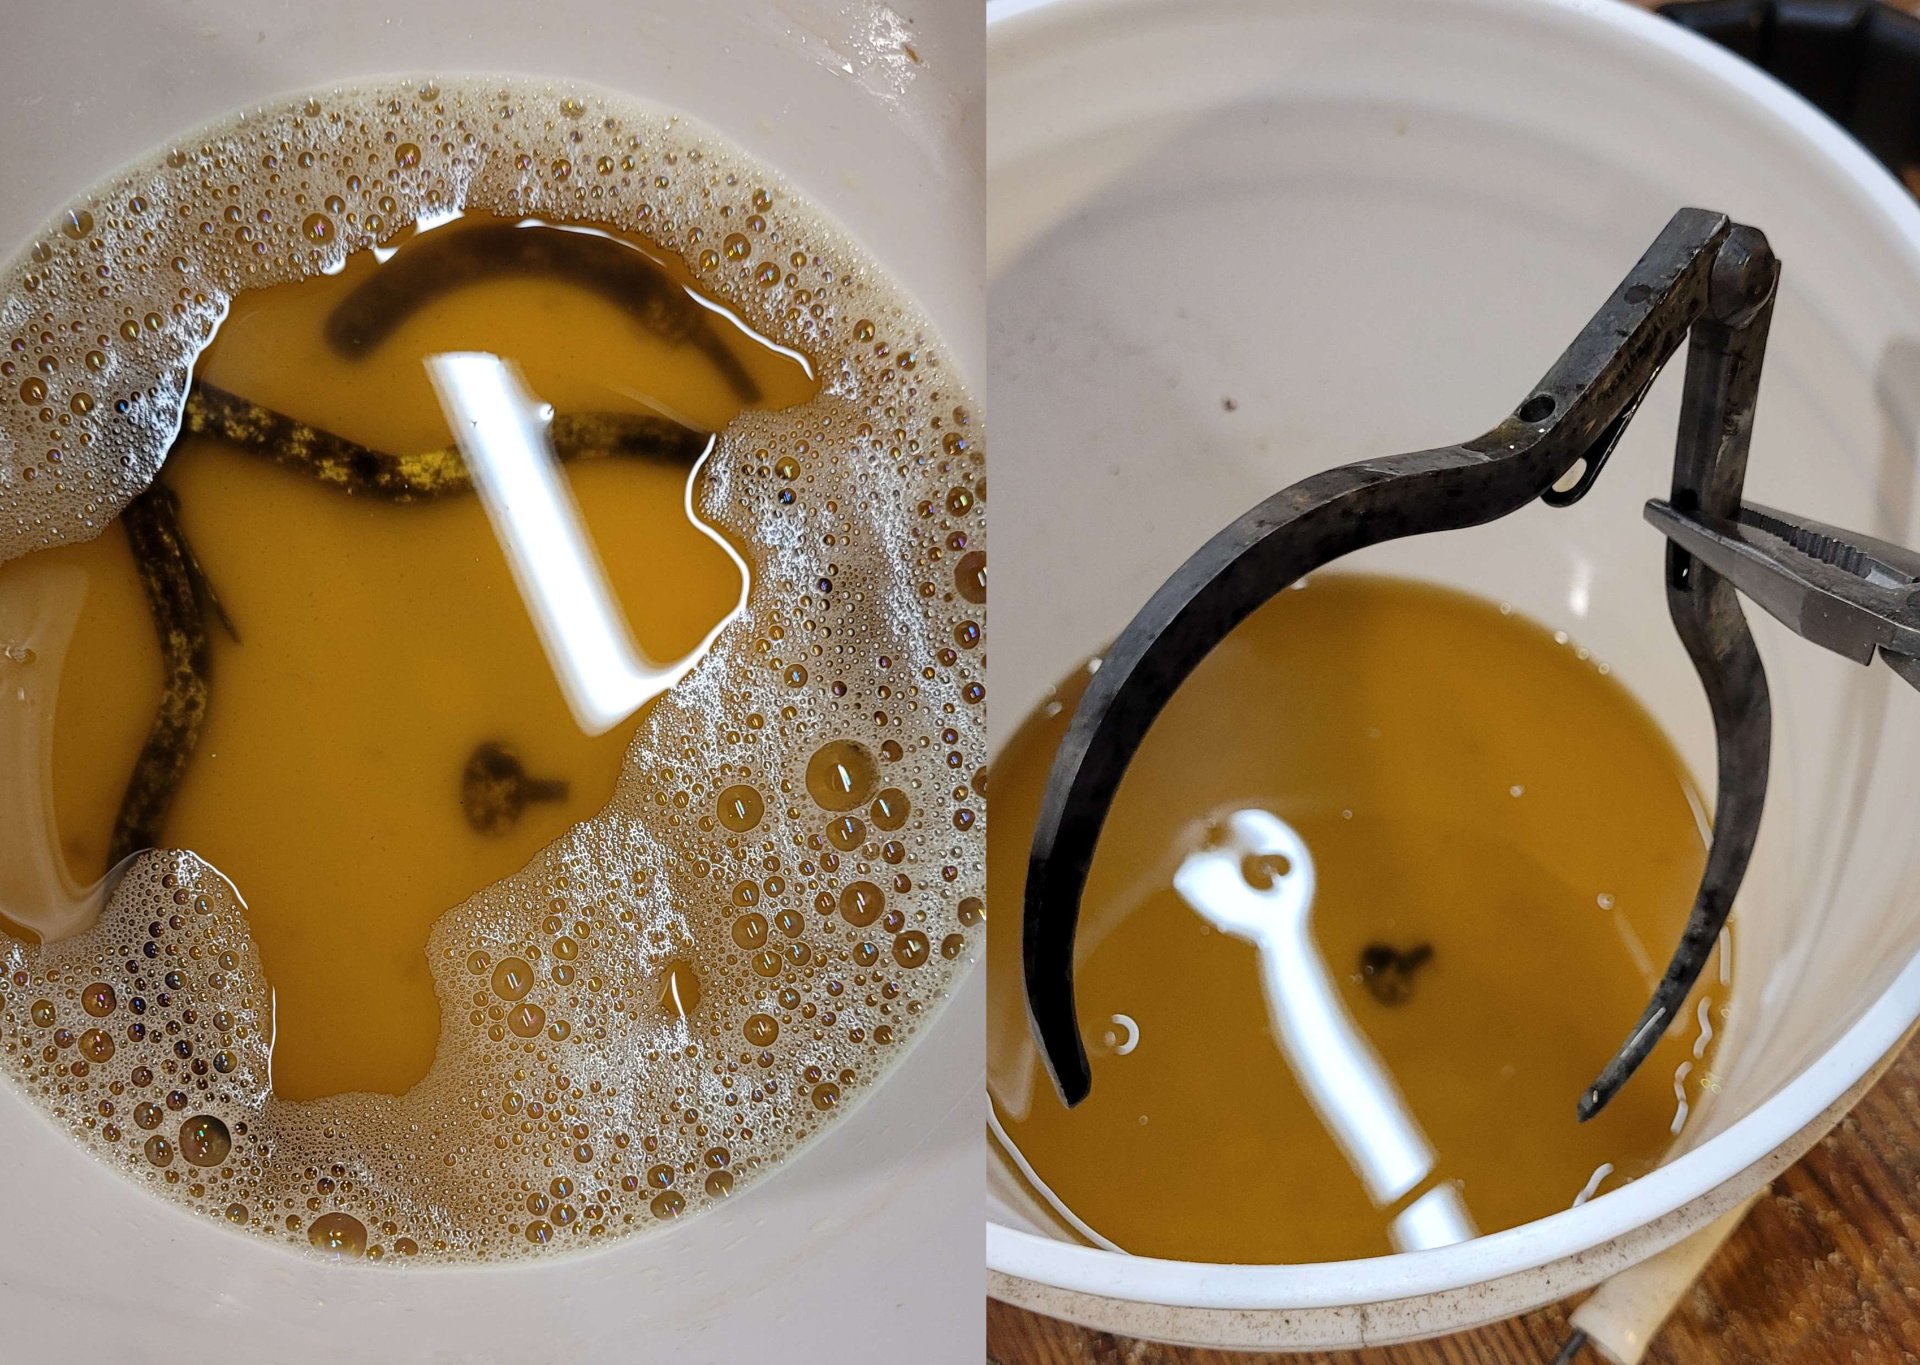
I let them soak in some evaporust for about 8 hours. I really like this stuff, it hits the sweet spot between very effective and not especially dangerous, and it’s reusable! They do overestimate how effective it is in their instructions though, so it often takes longer.
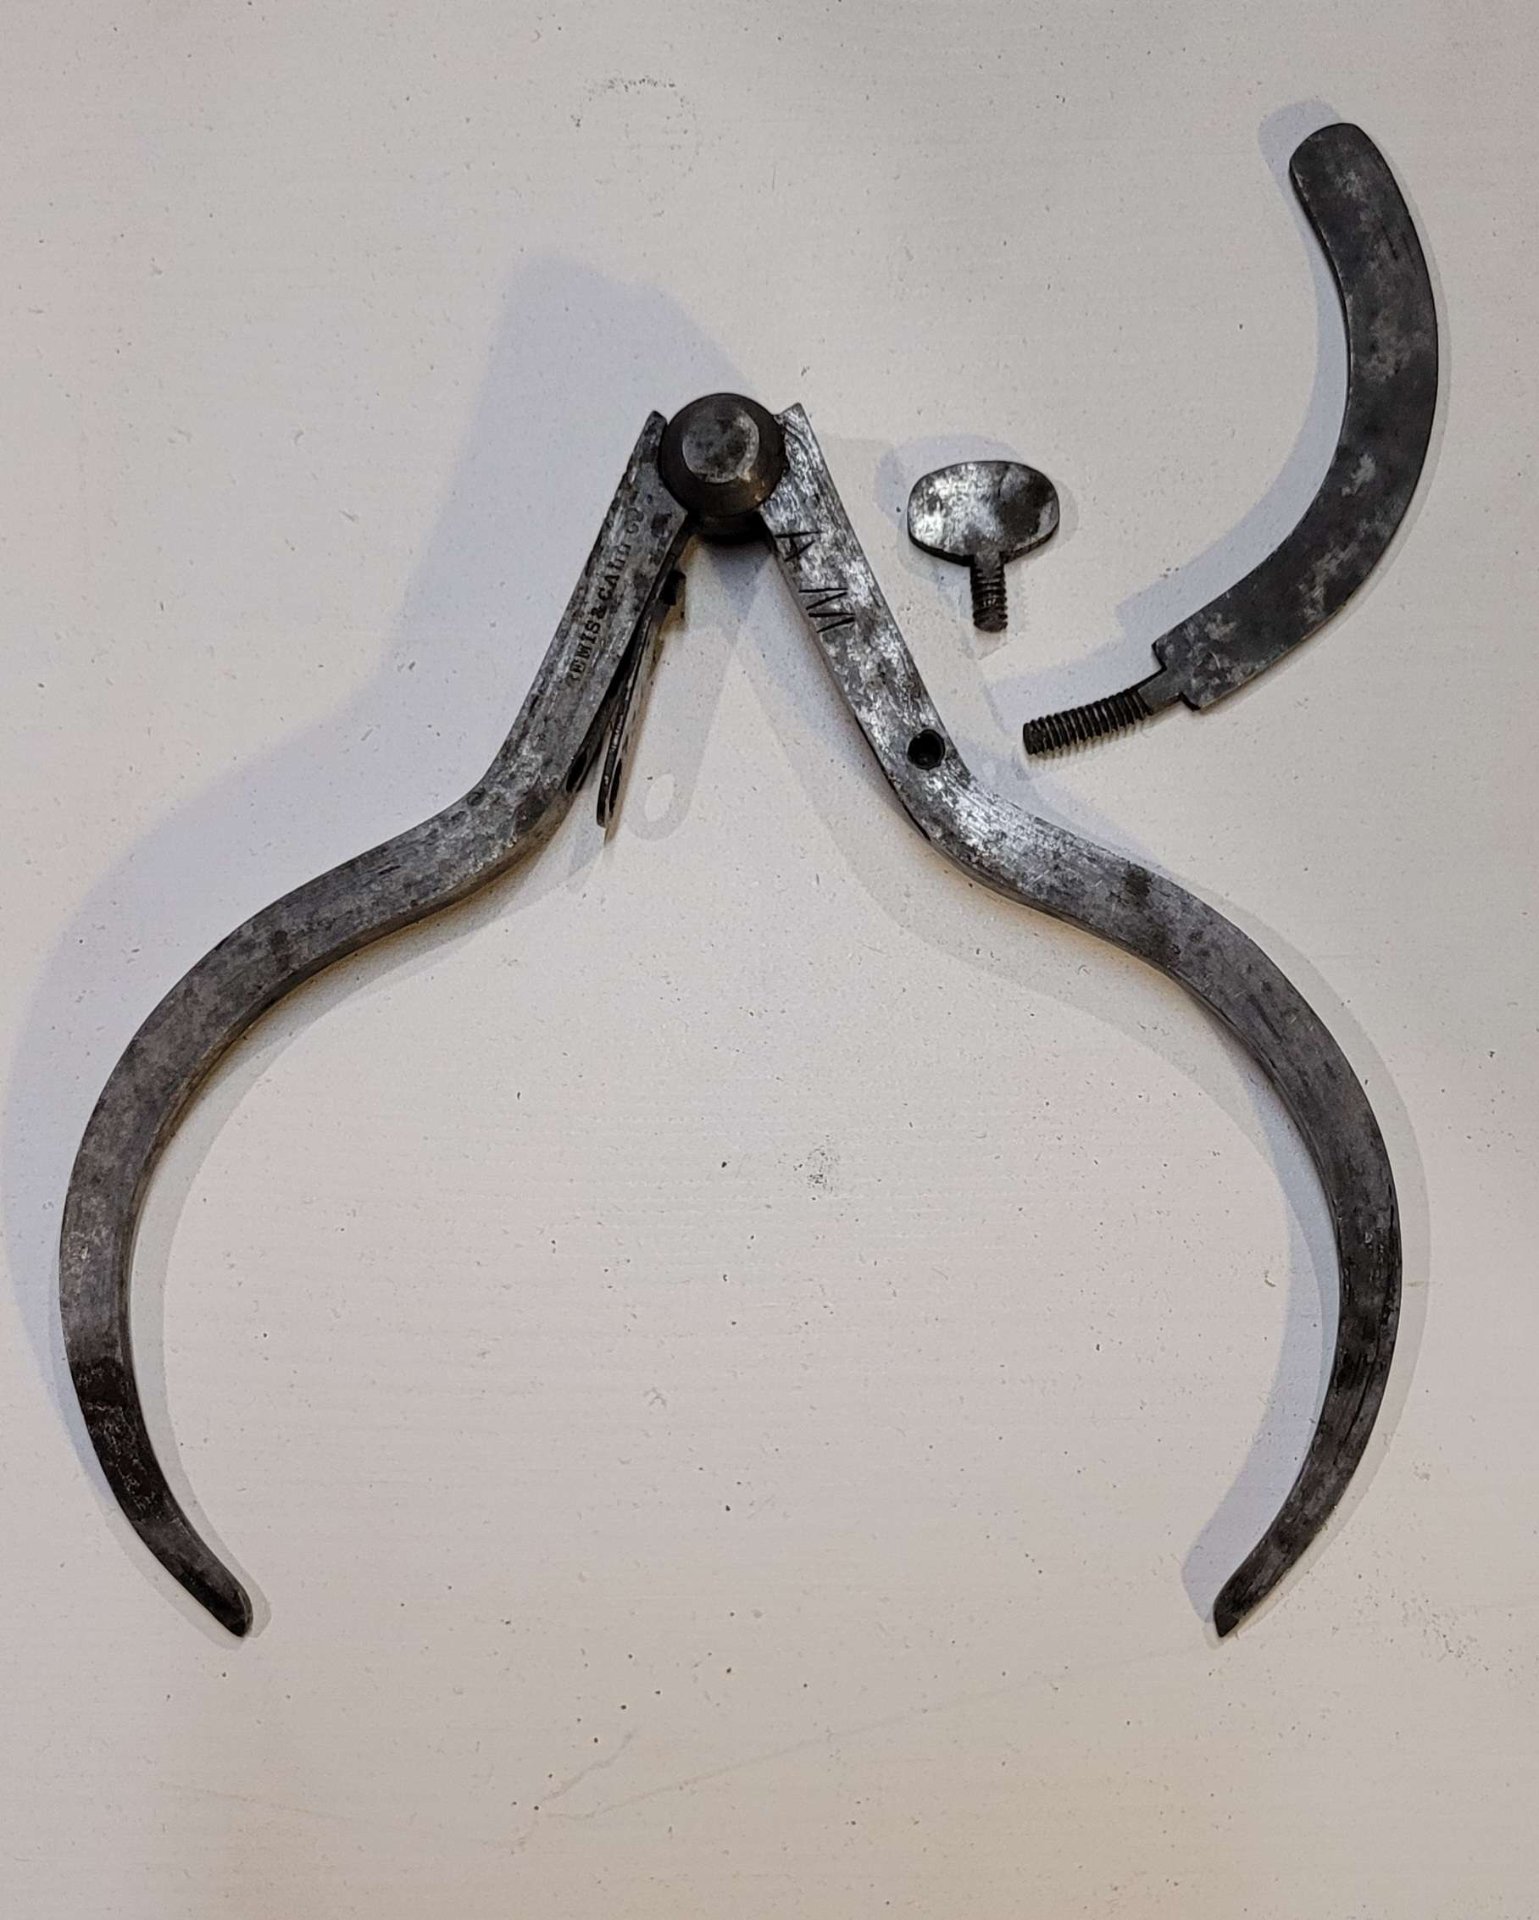 The calipers, straight out of the evaporust. You can already see some text which was hidden before, along with the initials AM from a previous owner.
Now that the worst of the rust had been dissolved, it was time to switch from chemical to mechanical cleaning. I sanded it down with 400 grit emery cloth.
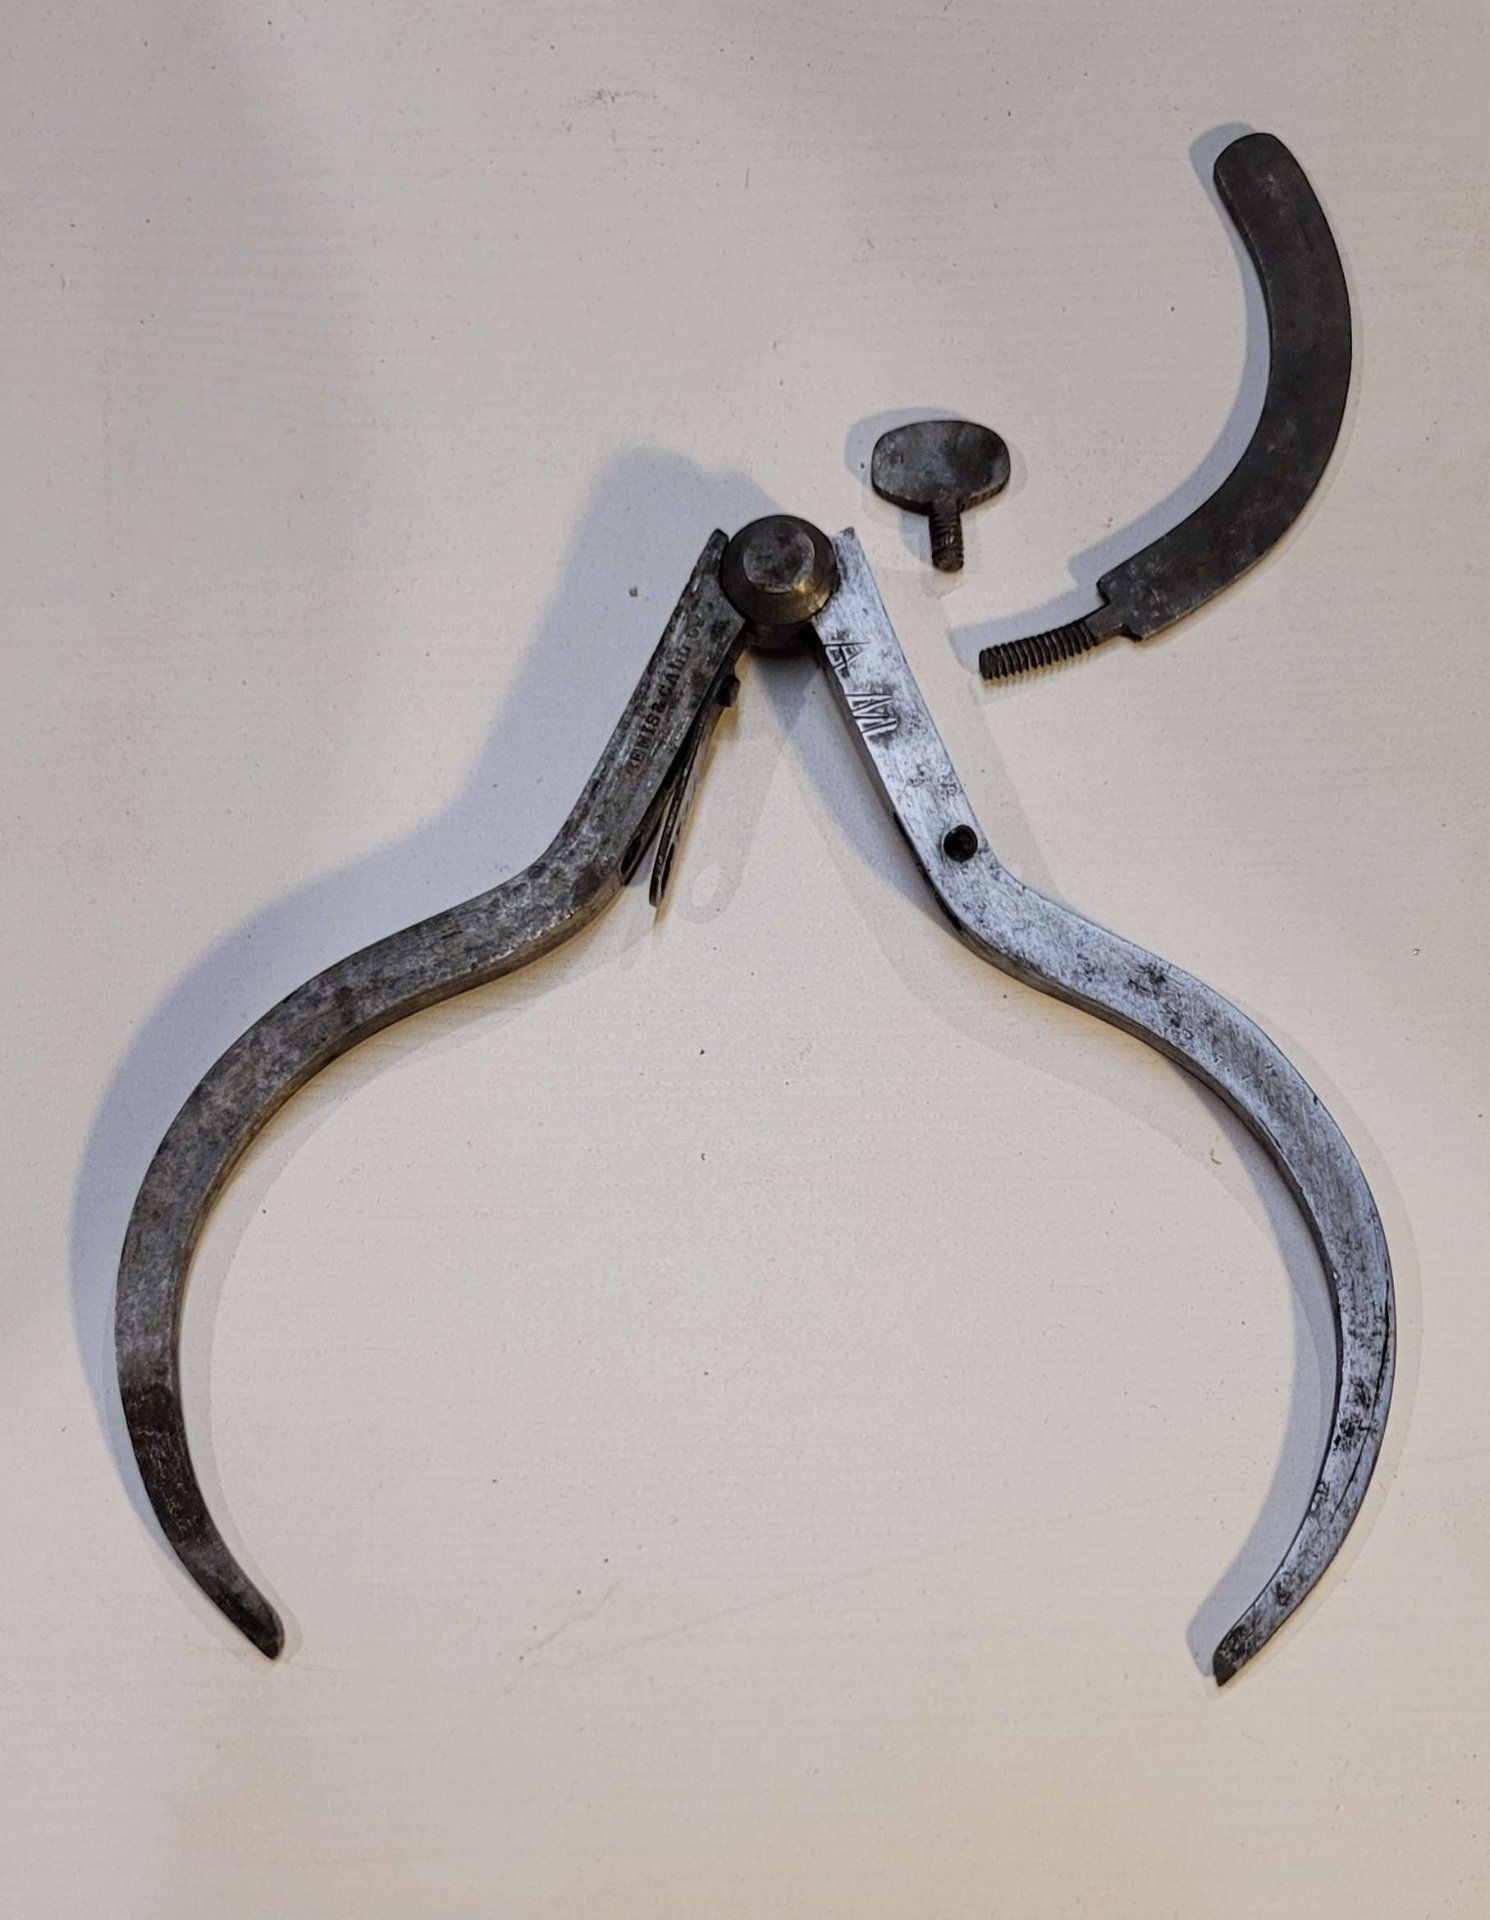 The calipers with only one side sanded.
As I cleaned up the sides, I found a few neat bits of history:
 Here’s some funny nicks up near the joint on one side. I wonder what caused them. And the previous owner’s mark on the right side, AM. This is a big part of why I love old tools. I love the history they carry with them, even if I don’t know all of it.
 Looking better, but still a ways to go. I was surprised to find that there weren’t any markings on the little distance arm. I’d been expecting to find little angle tickmarks or something, maybe even printed numbers, but there weren’t any to be seen after the evaporust, or once I started gently sanding off the remaining rust and the black crud evaporust leaves behind.
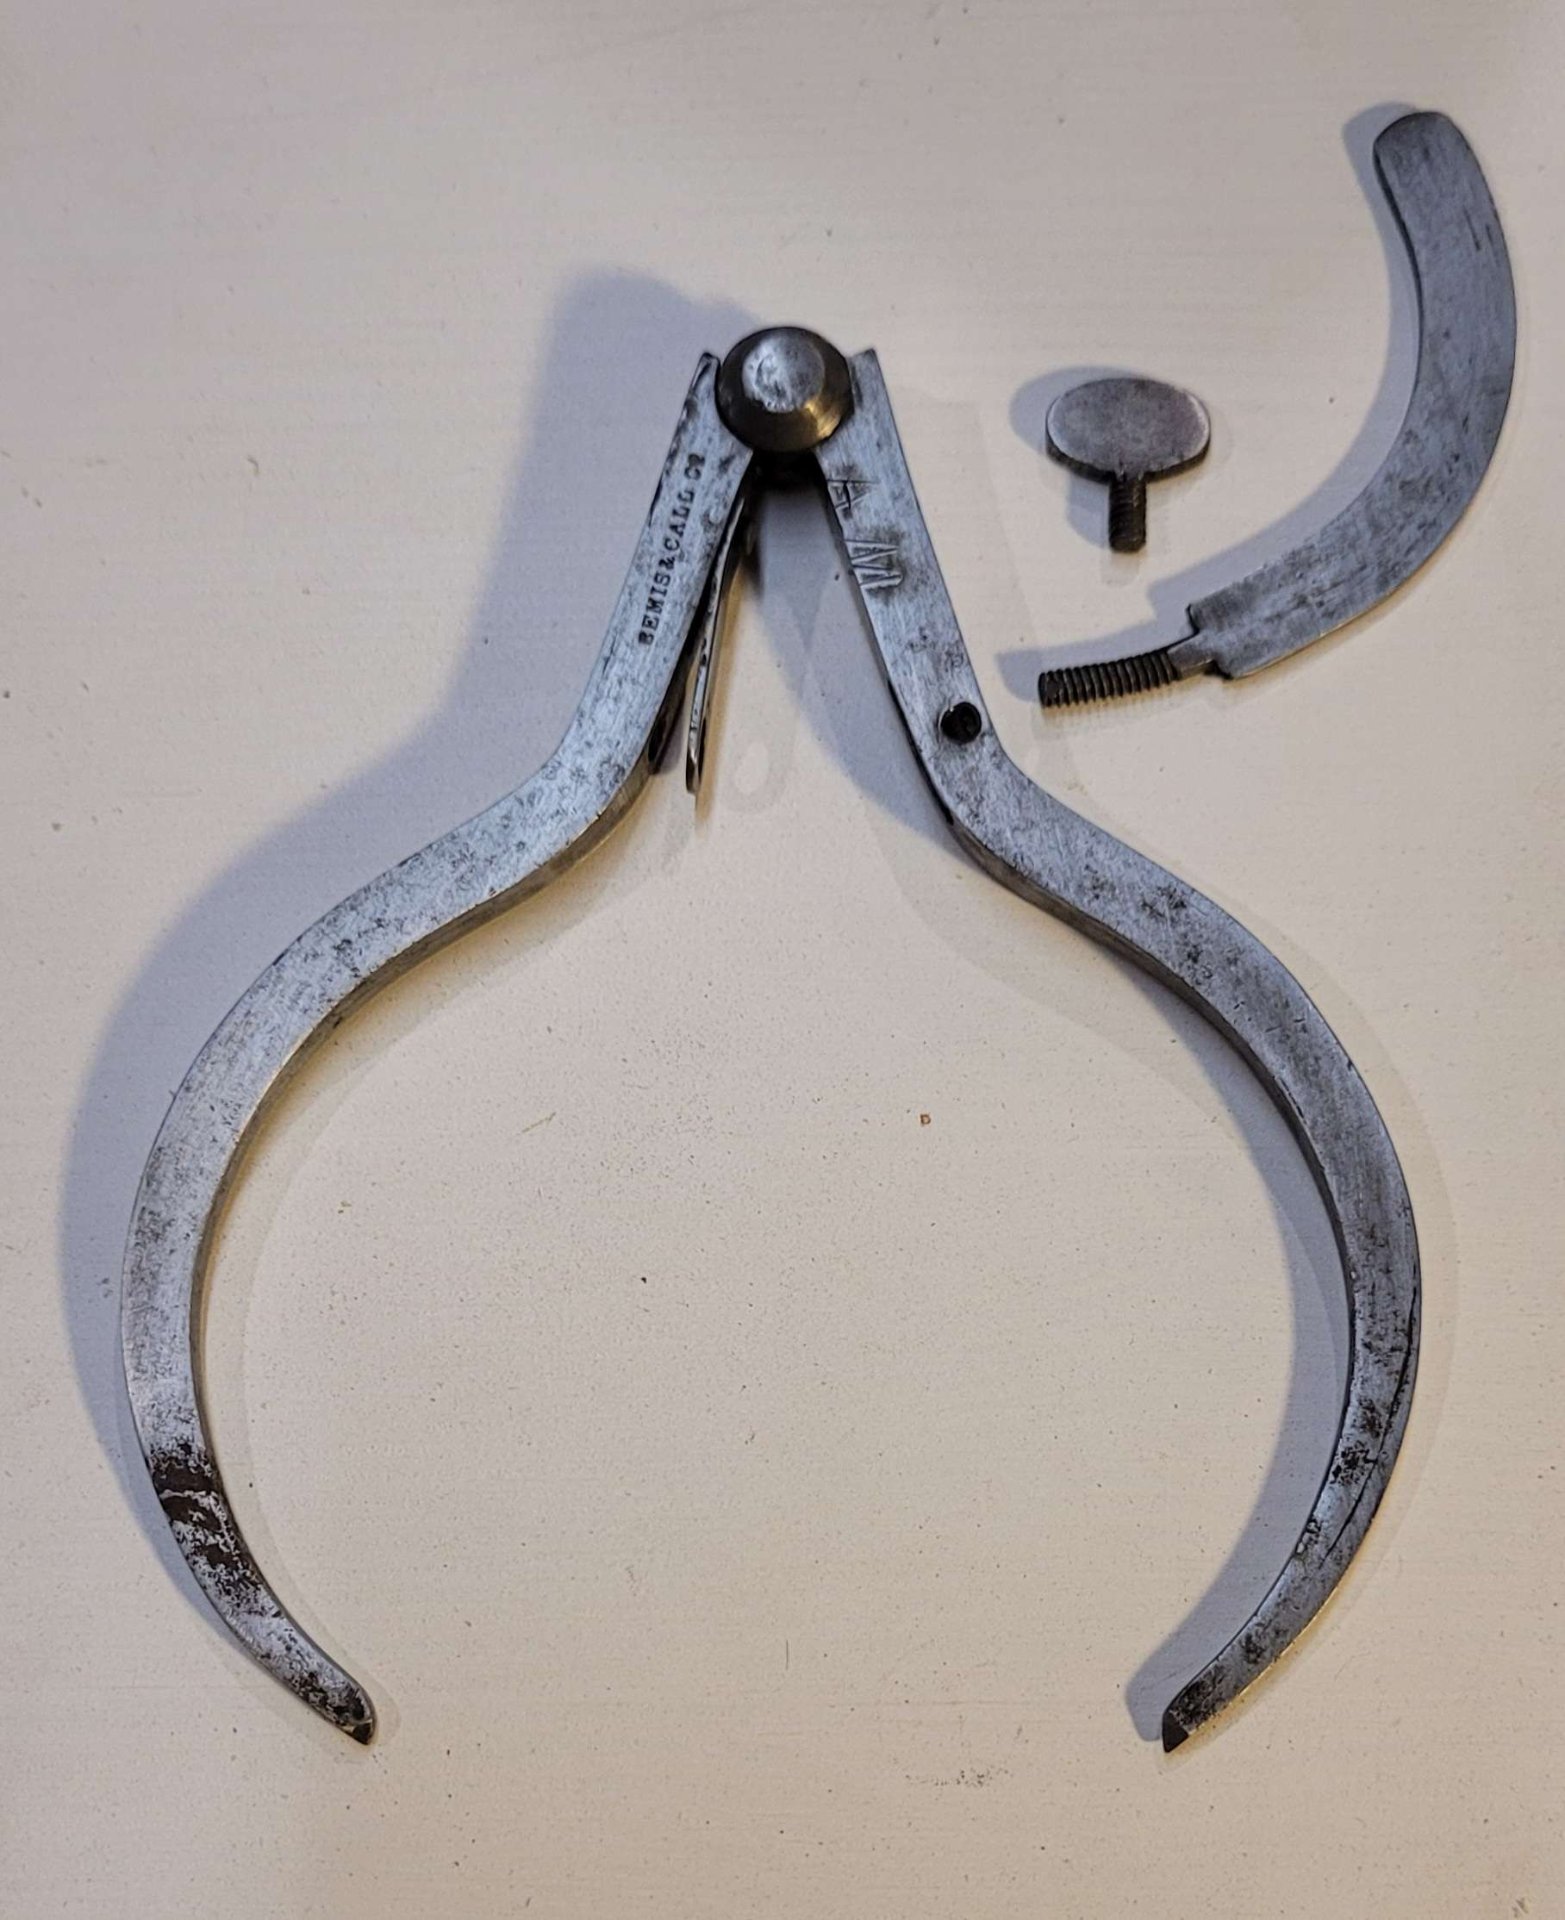
Once I had most of the rust gone, I switched to steel wool. I didn’t want to take too much material off the surfaces, and I felt the more flexible steel wool would hit inside the pitting from the rust better.
The steel wool shined it up quite nicely. And here’s a closeup of some of the surface pitting left over by the rust on the left side. The back of these calipers didn’t have this kind of damage.
It was tempting to leave it here, but I didn’t want the rust to return, so I decided to treat the calipers with cold blue, to provide some protection against oxidation. There are other ways to protect steel, but I like the look and it seems to hold up well enough.
Cold blue always looks a little rough when it first goes on (this stuff is a gel you don’t want to get on your hands. You wipe it on, leave it to darken the metal for 60 seconds, and wipe it off again) but a little burnishing with 0000 steel wool will tidy it up:
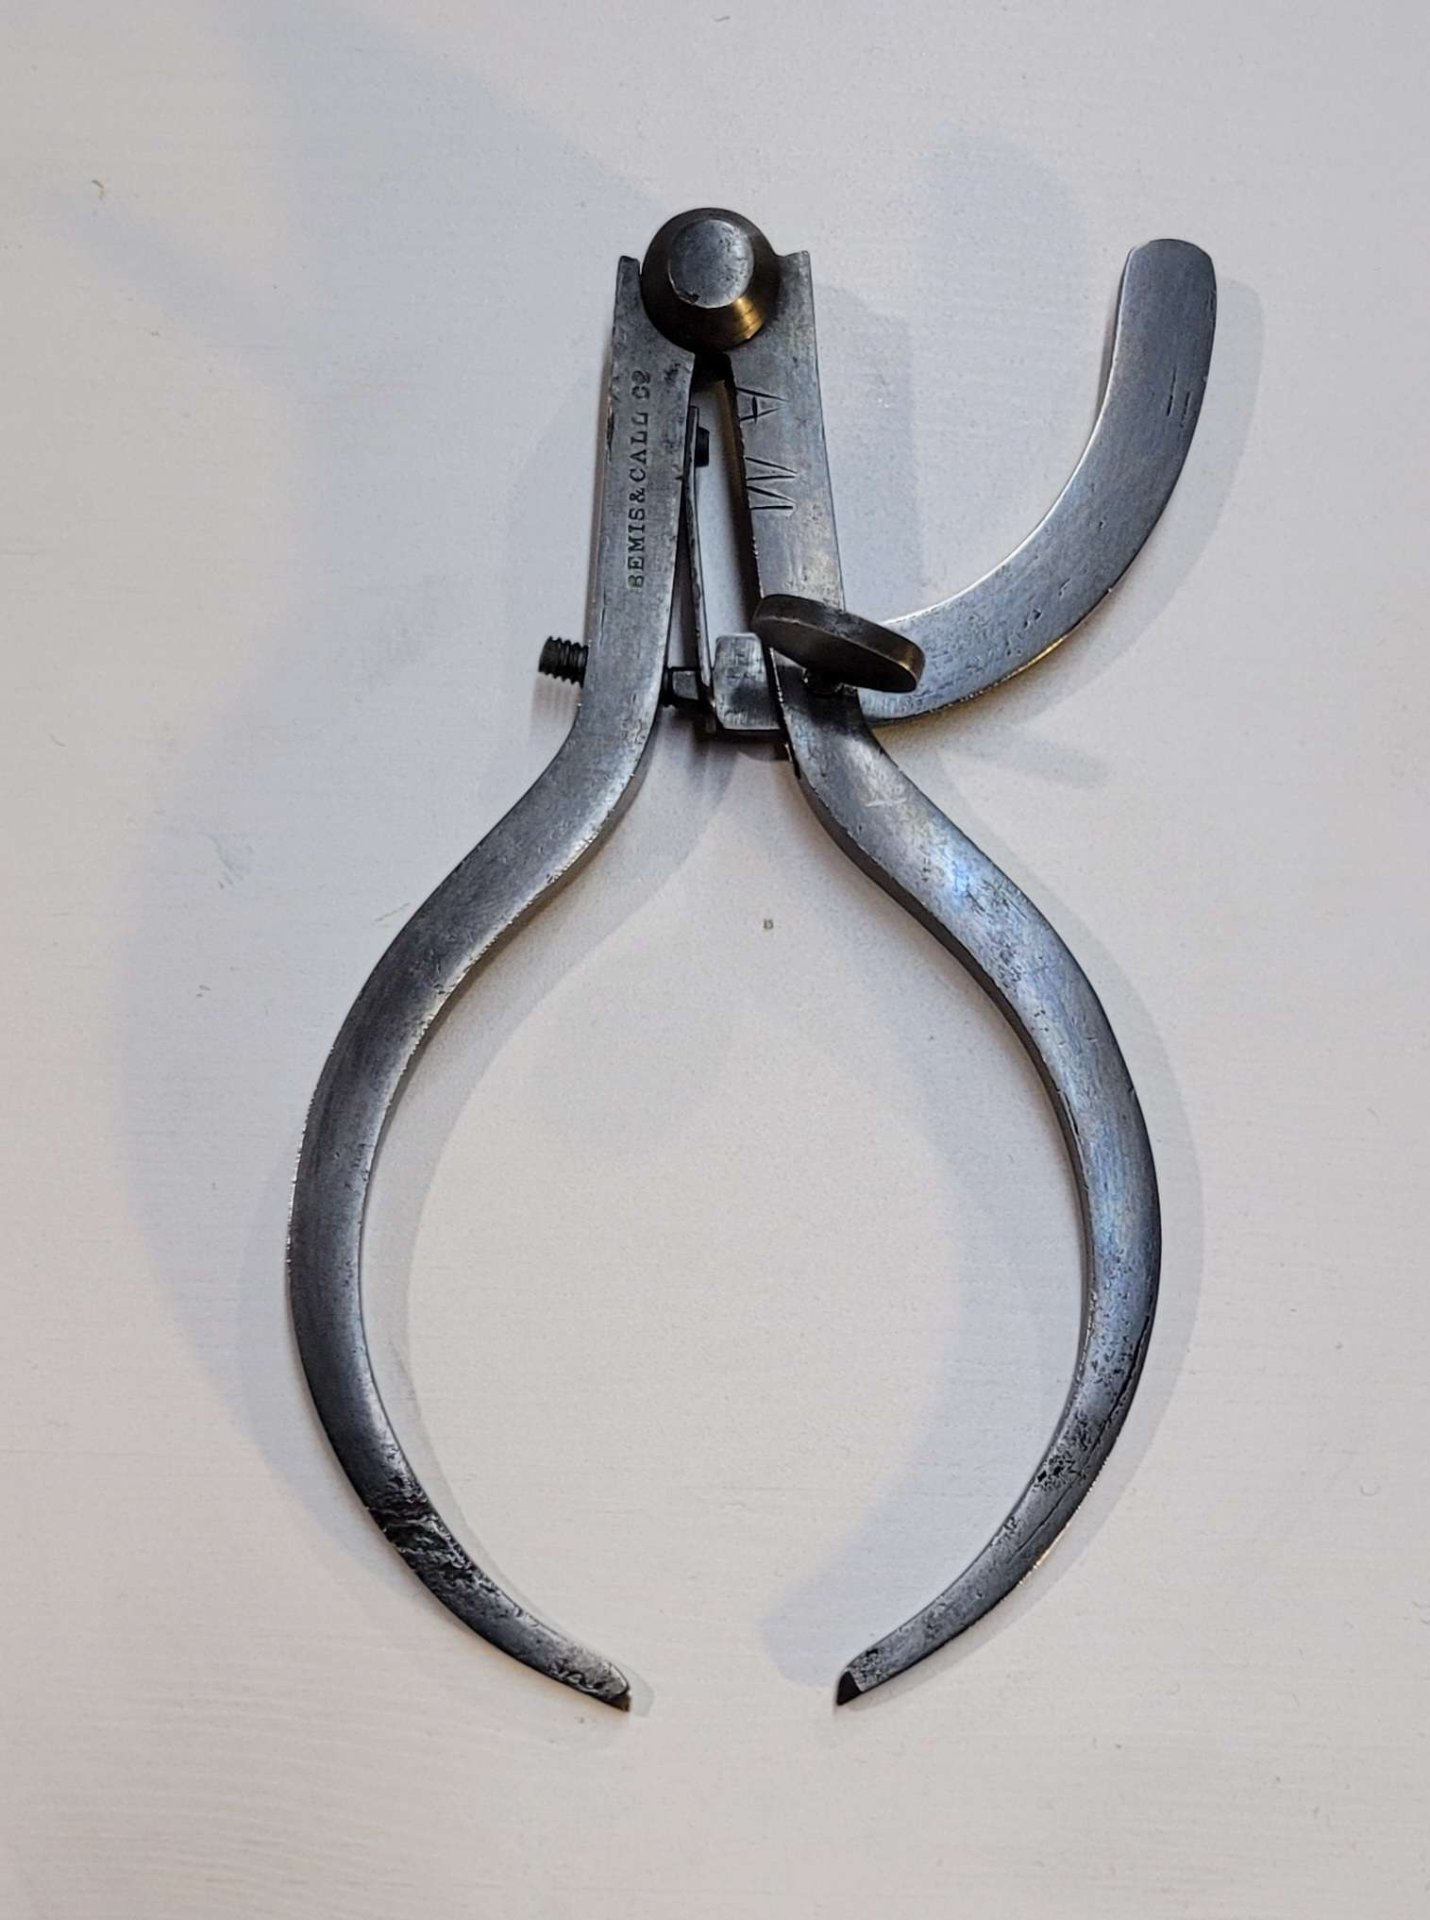
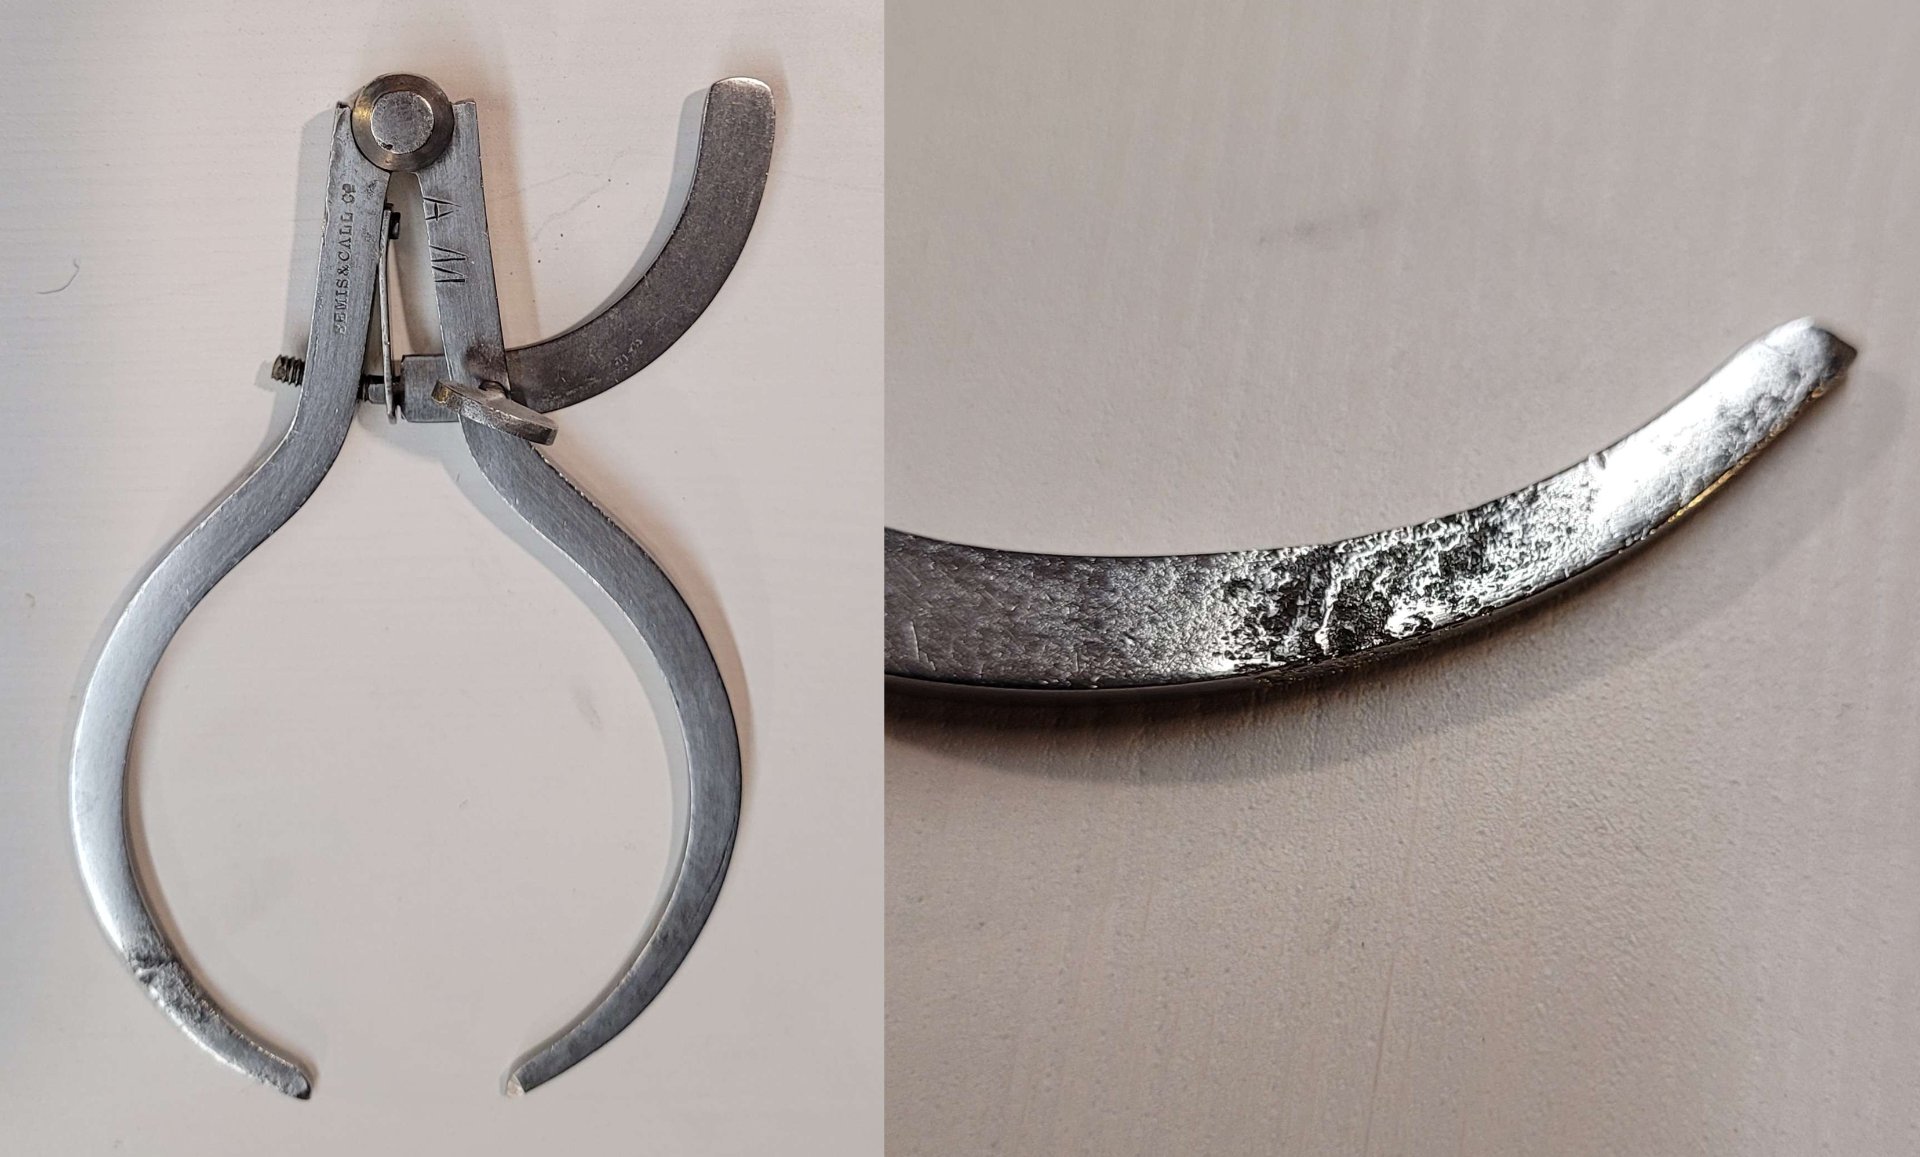
There we go, still pretty shiny, but not as likely to rust again. Not bad considering how it looked in the beginning. Hope you’d approve, AM.
(I wrote this post for the making/fixing things blog I have on our local movim instance. If you’re a slrpnk.net local, your credentials will work on movim automatically!)
Hope you’d approve, AM.
you nailed it - absolutely beautiful. whoever AM might be, I am sure they would be tickled to see the restoration.
Thanks so much!
Didn’t expect to read such a cool restoration story tonight. Thanks!
Thank you!
think you might add some scale marks?
I’m thinking about it - I have access to a laser cutter that can do steel etching. If I planned it carefully I could get it to match to inches between the points of the jaws to each tick or something. But I think I’m leaning towards leaving it origional-ish for now, since this setup still allows you to open and close them without losing your place, so you can measure the opening accurately and that’s probably how they’ll be used.

