
I recently started trying to learn bookbinding (and because I never liked practicing by making something I didn’t need, I’m starting with a 266-page solarpunk TTRPG rulebook I helped make).
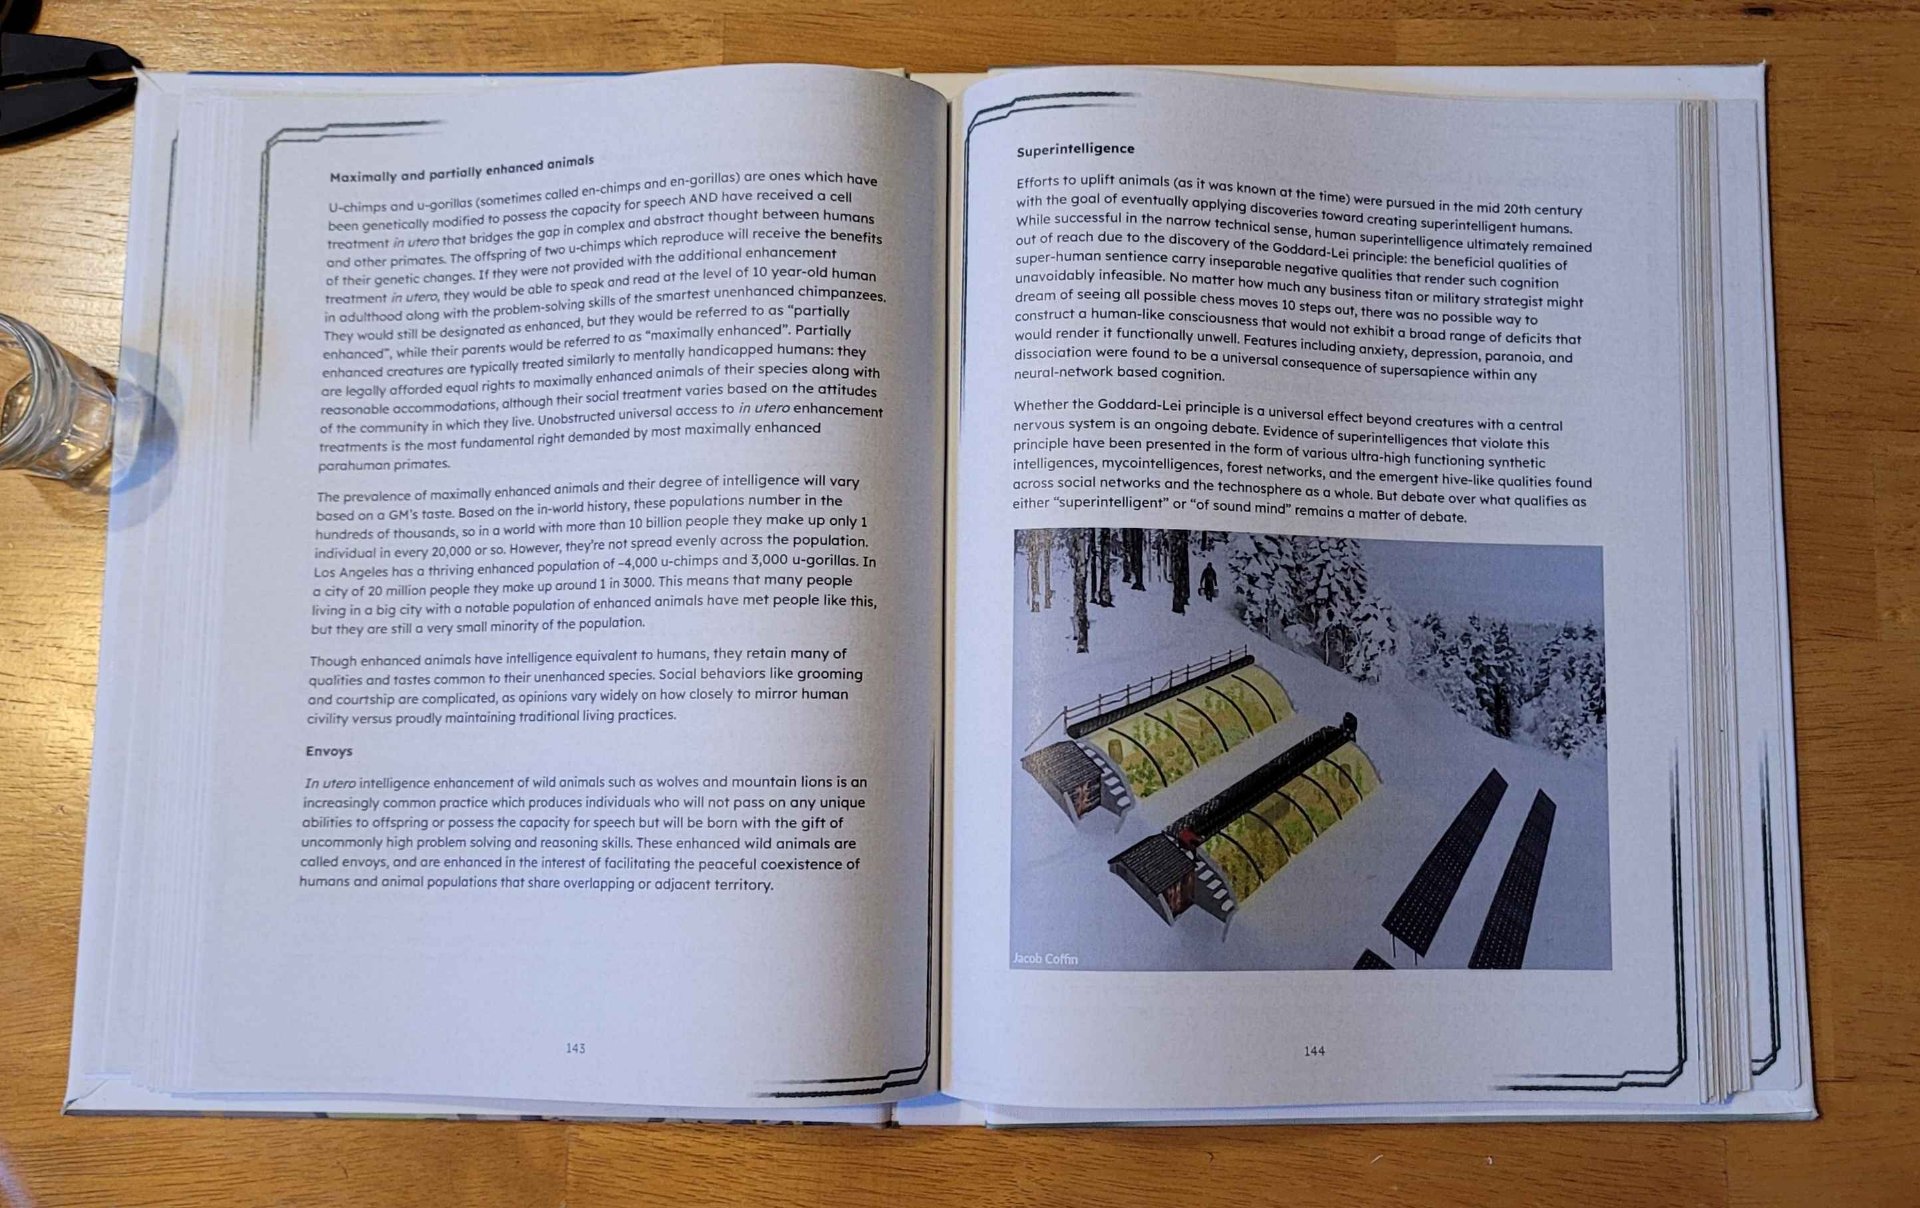
I joined the Fully Automated discord a while back, mostly because I was looking for a place to talk worldbuilding in the genre. I read the lore/setting part of the rulebook and it actually helped me start thinking bigger than I had been around ways the world could be better. If there’s a solarpunk timeline from our modern day, through conflicts and crumbles and collapses, gradually rebuilding towards something eutopian, then they’re much closer to that high-tech, post-scarcity end-state than the solarpunk stuff I normally write. But there’s something kind of fascinating about that world, and it makes for a great place to tell stories.
I offered them the use of the art I’d already made, and then I got involved in writing and editing the lore, including contributing a couple sections around rural areas and reuse, which, true to form, they expanded into something bigger than I had come up with on my own.
Since the game is an open source, all-volunteers thing, we didn’t do a print run, just released a series of PDFs. But I have free access to a printer that can do 11x17, a plotter printer that can print on canvas, my SO’s unused bookbinding kit, and enough patience to learn to bind at least a few copies, so I decided to give it a try.
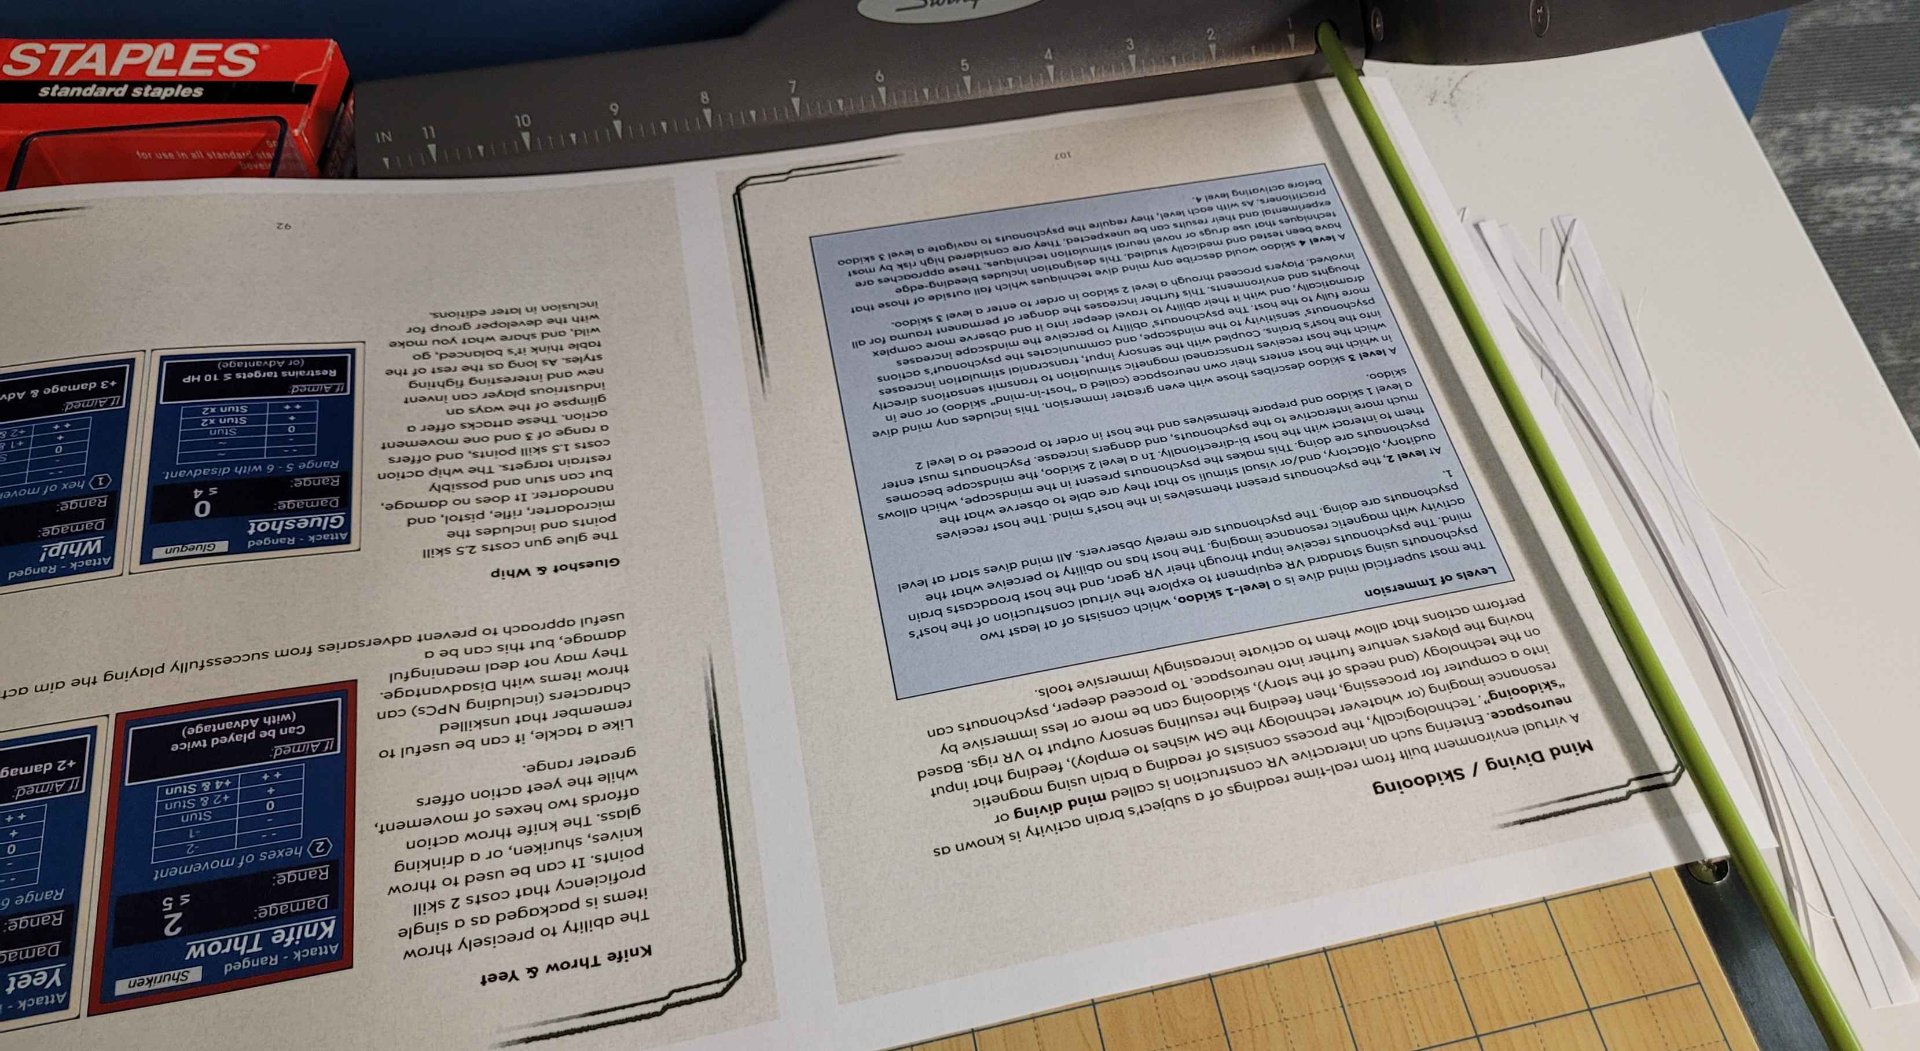
The first step was rearranging the pages into signatures. These are small pamphlets of folded papers that get sewn and glued together to form the book. This turned out to be way easier to do than I expected, as there are several online tools for interposing PDFs. I found and really like this one: https://momijizukamori.github.io/bookbinder-js/
This allowed me to take the regular letter-sized (8.5"x11") PDF and rearrange it into signatures of four or five 11"x17" pages, with two pages per side. It handled reordering the pages so they work correctly once the signature is folded together and stacked with the others. We also took these interposed files and made them available on the FA! website.
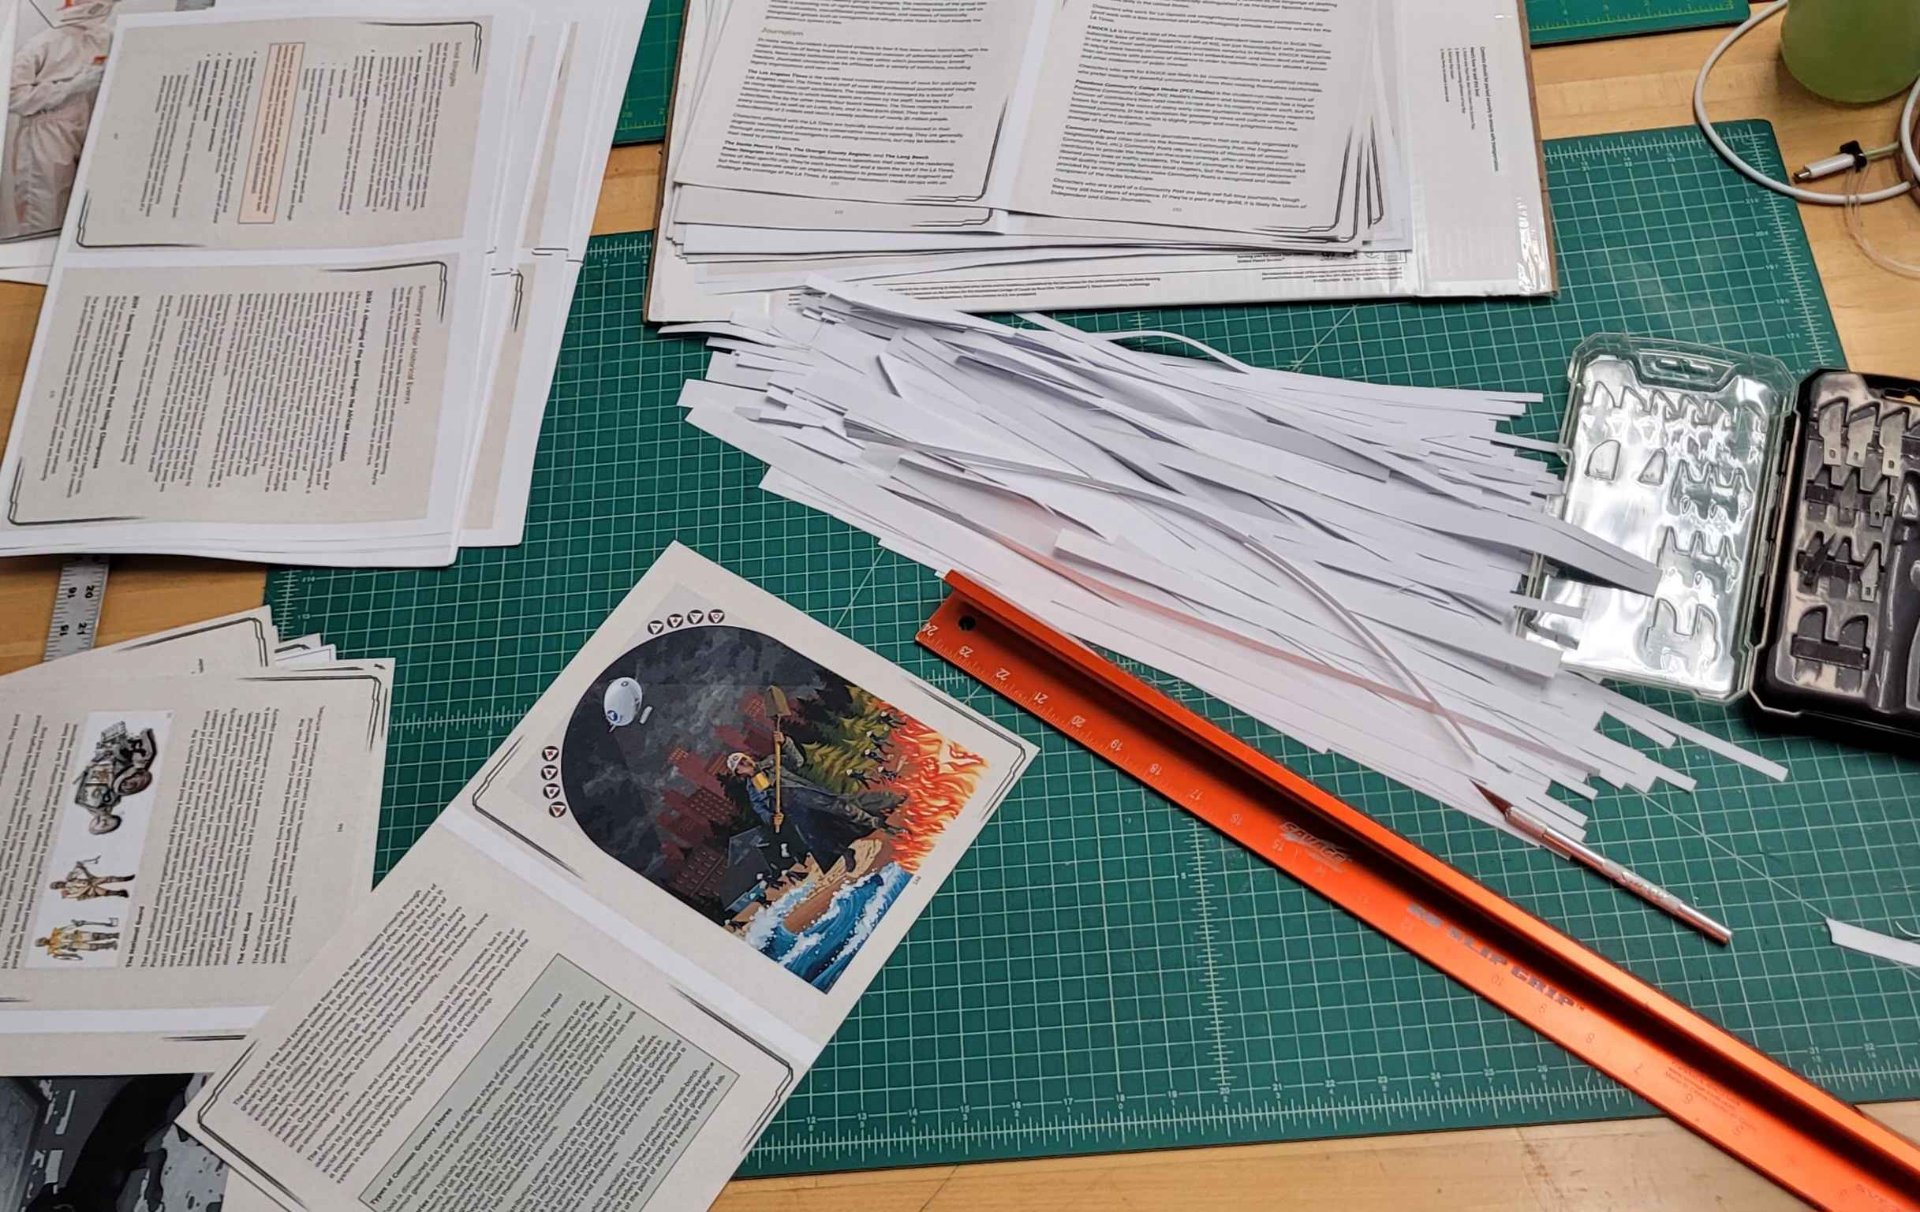
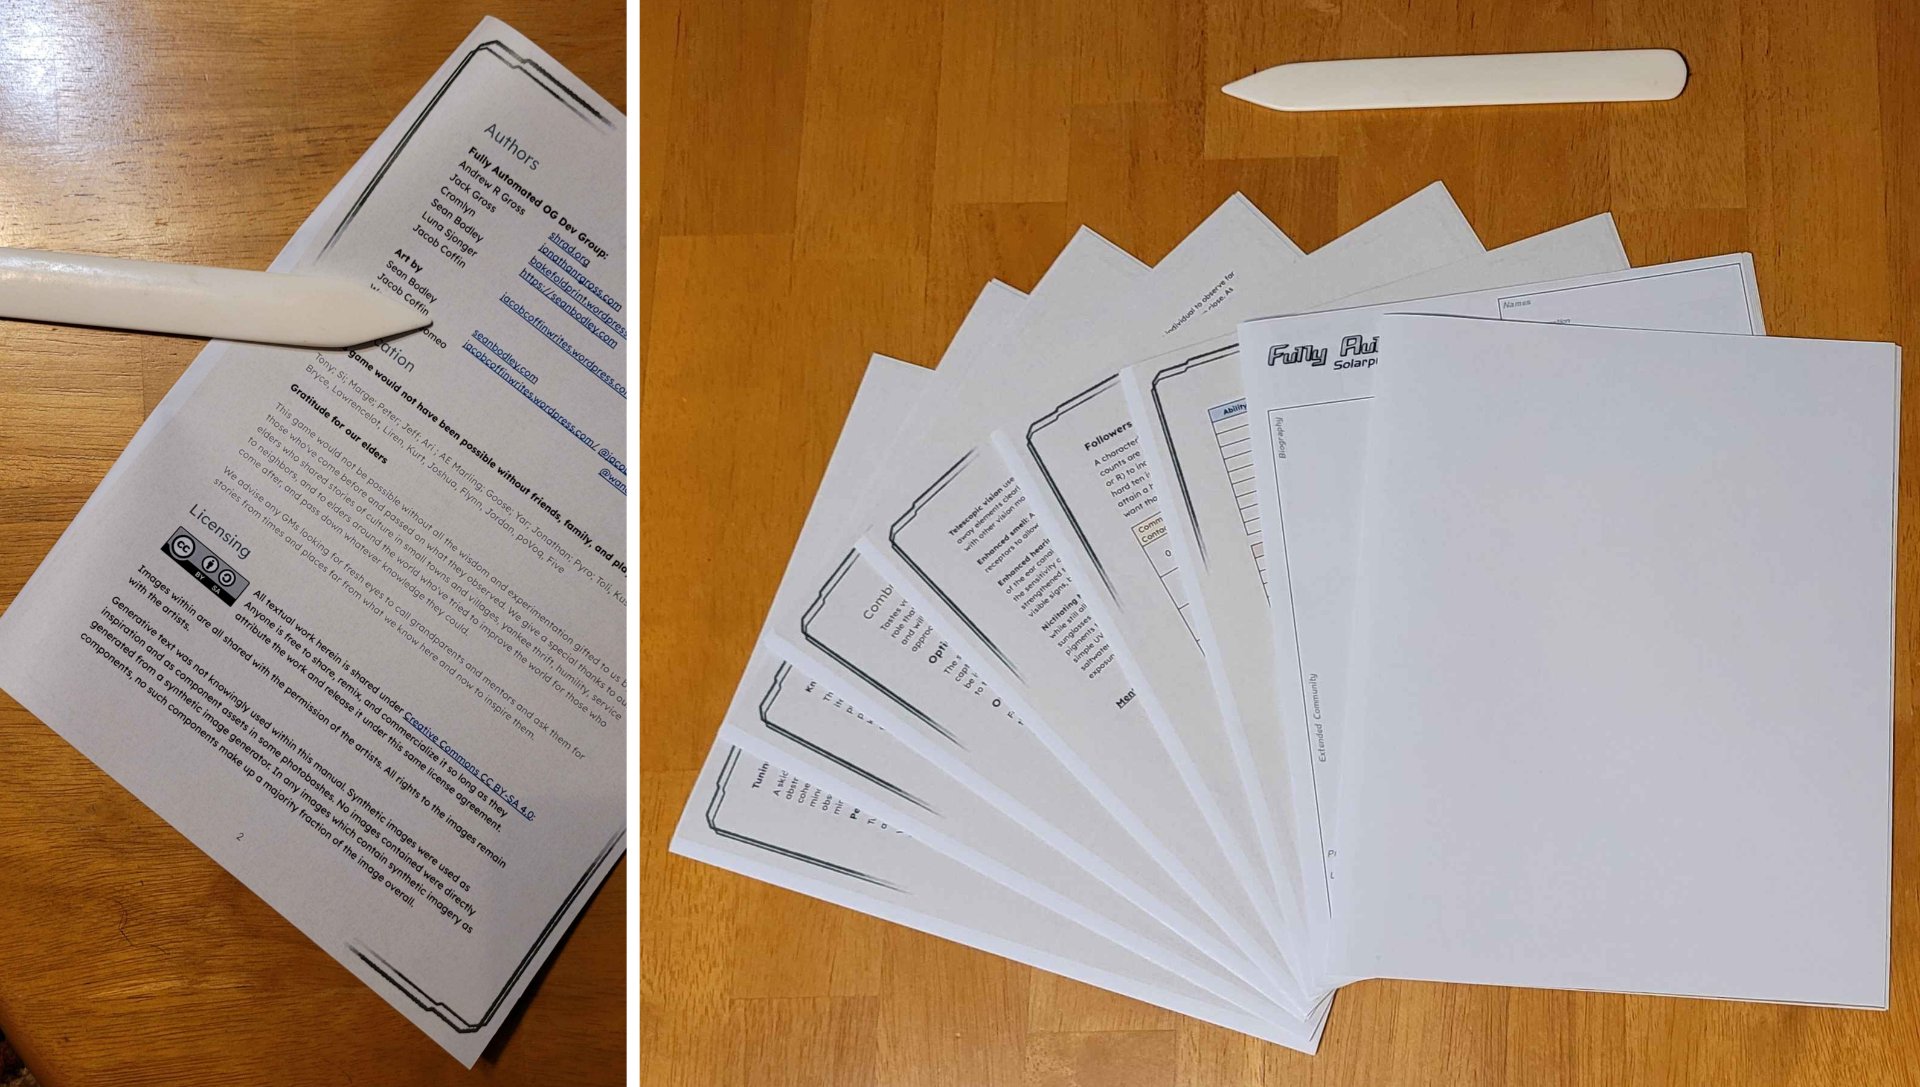
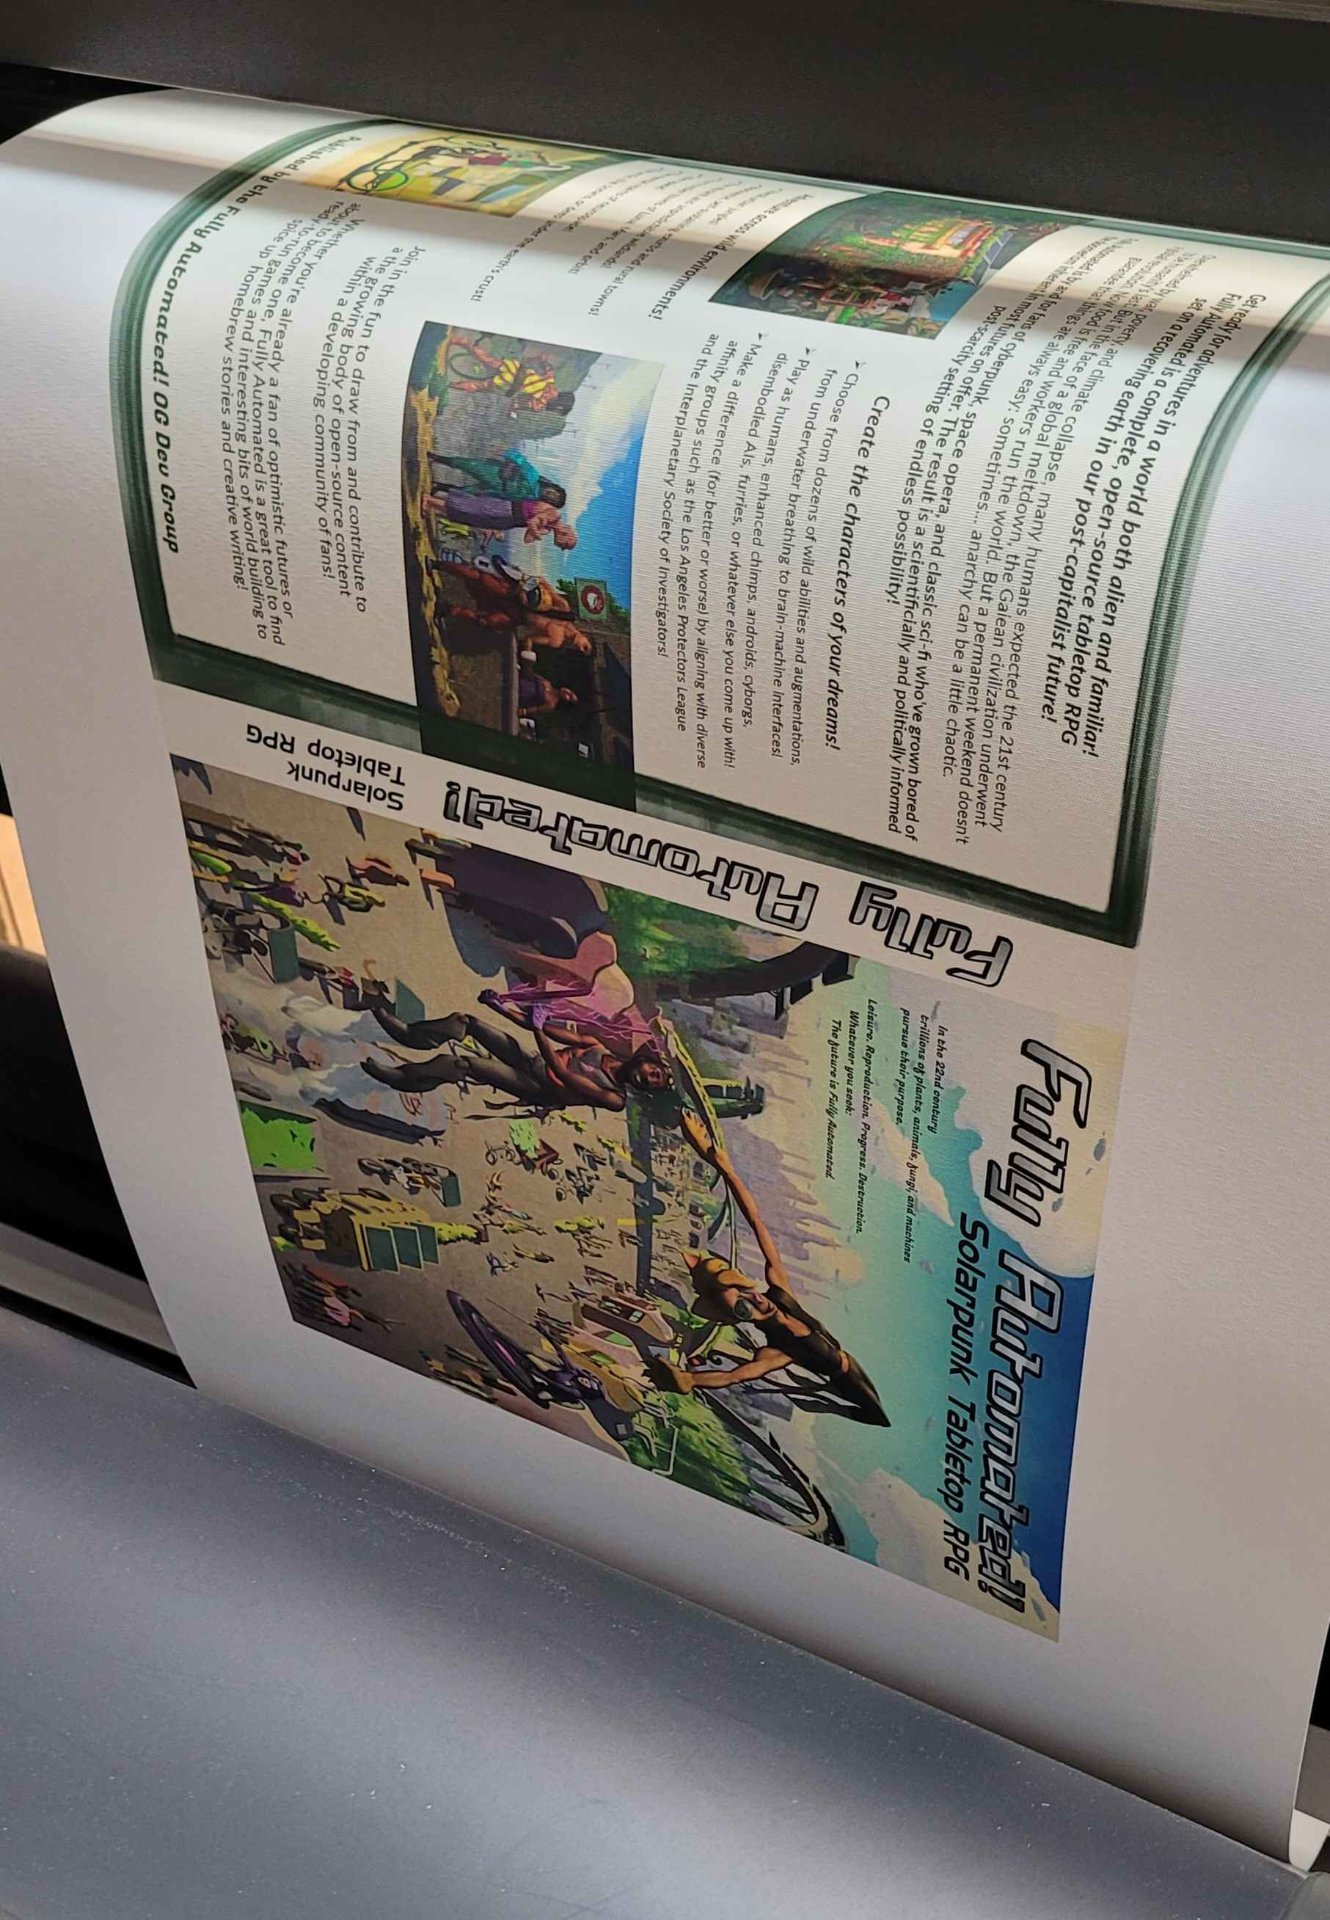
Once I had the interposed version, I could print off the signatures:
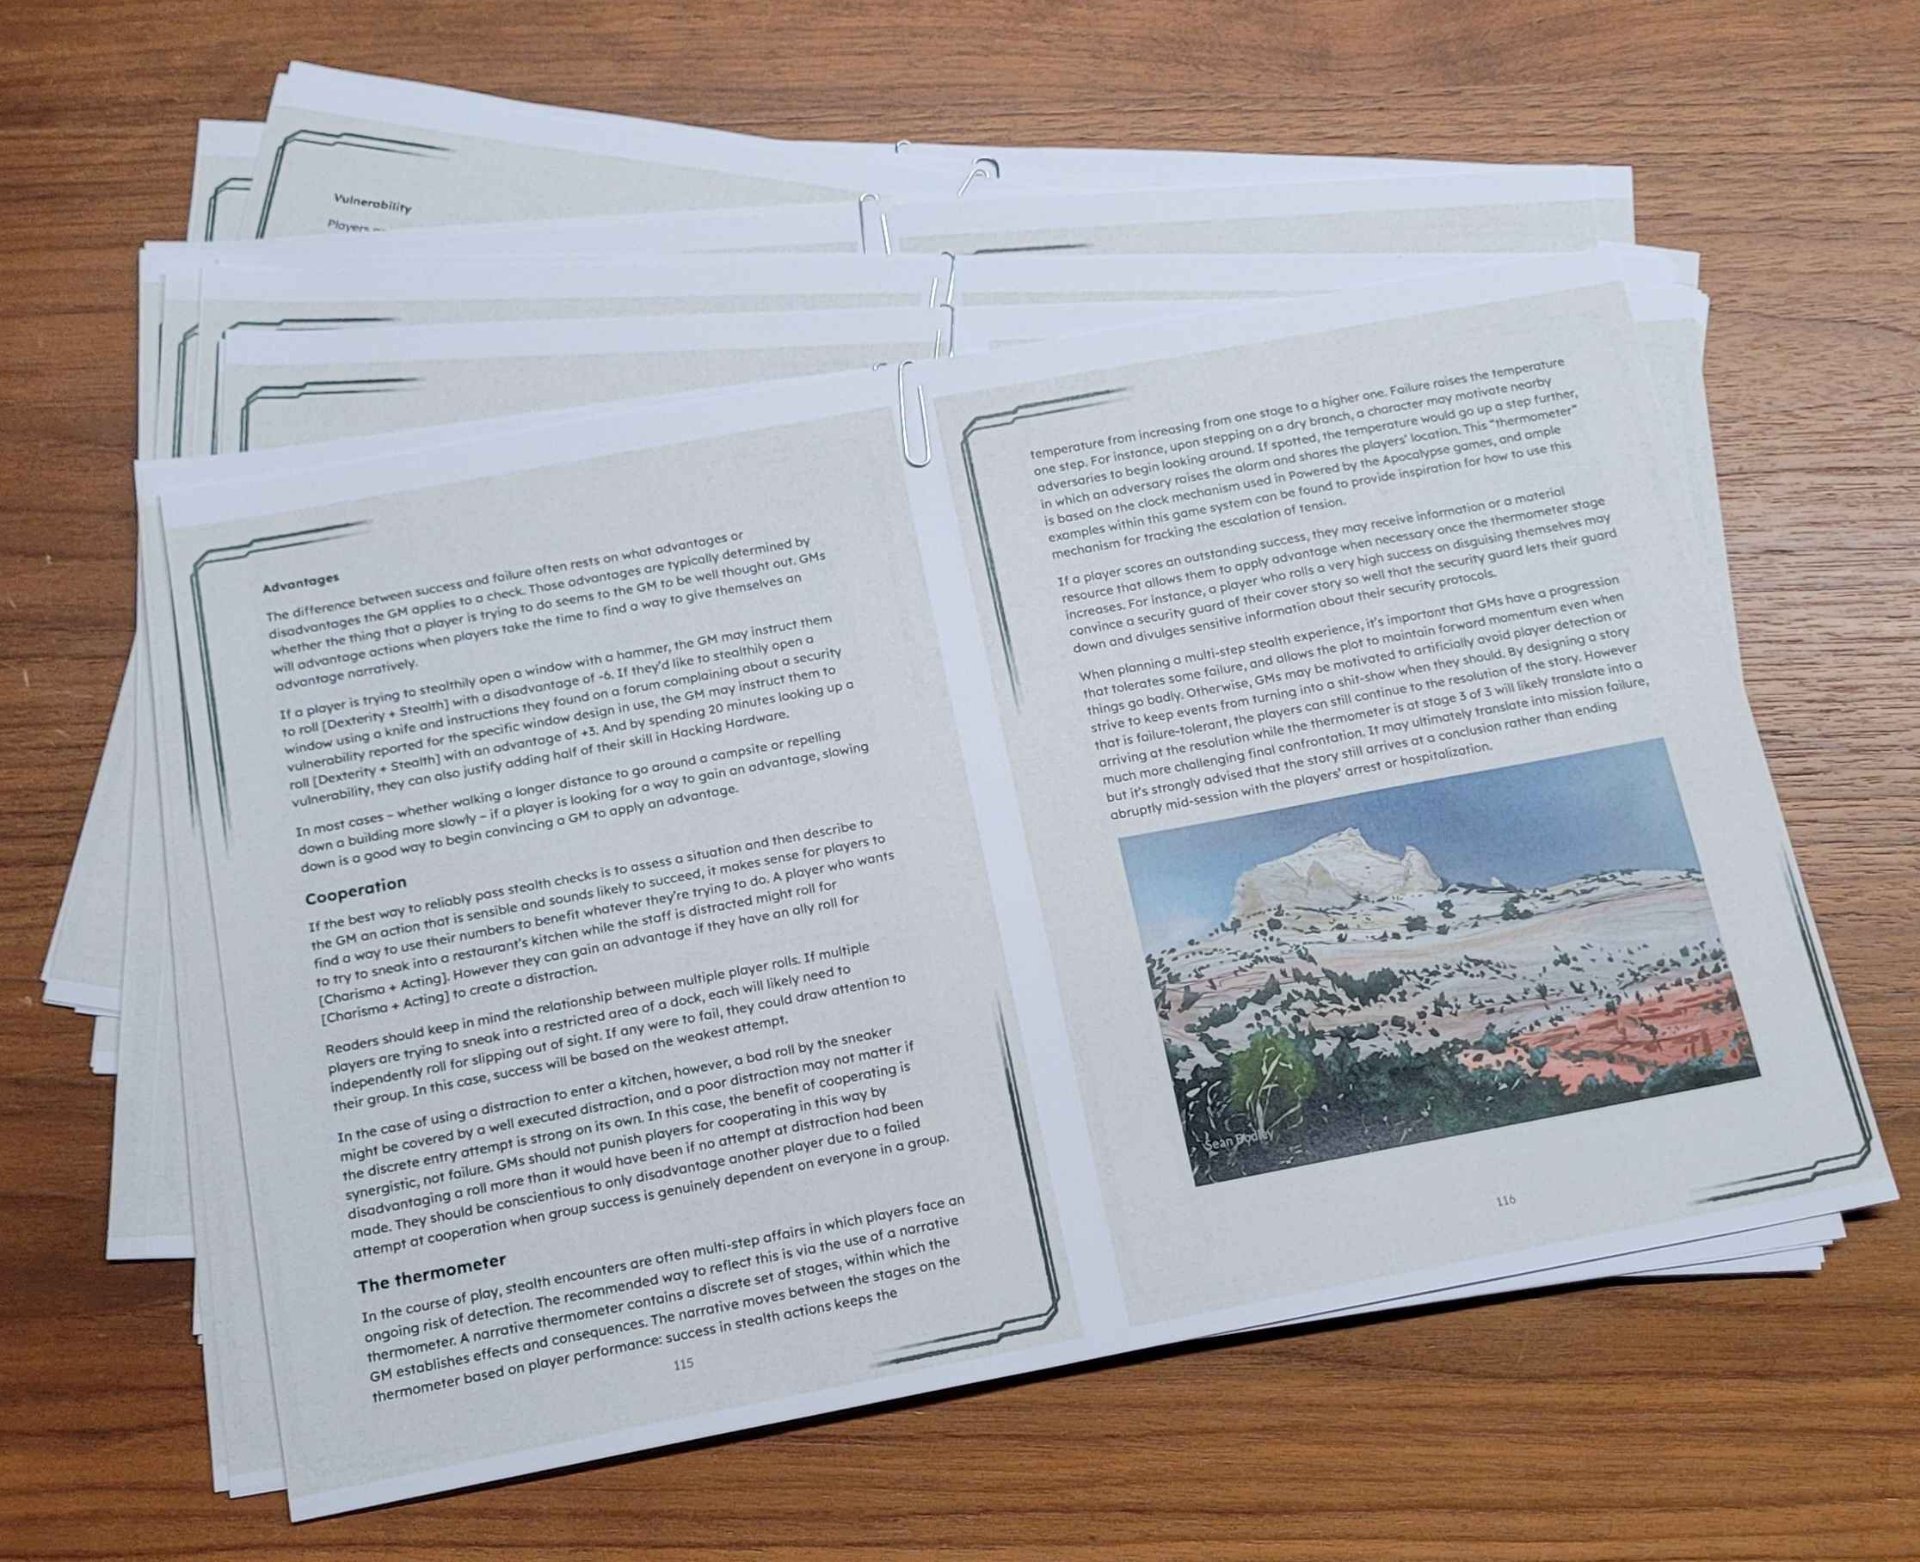
I really recommend printing each signature separately so you can paperclip them together and keep careful track of which pages are inside it. It’s really, really easy to completely lose the plot on the numbering - I almost couldn’t figure out how to put a four-page signature back in order once or twice, if it had been mixed with other ones I’d have been really confused. But it’s easy as long as you keep them in their sets and remember which side is up (because its the only sheet/side where two page numbers show in order).
The free printer I had access to couldn’t print without leaving a margin so I had to trim them by hand. I started off using a papercutter on the short sides, but eventually switched to using a straightedge and scalpel on all the sides.
The next step was folding the signatures folio-style using a bone folder:
And then punching holes so I could sew them together. Some guides have you sew each signature separately, then sew those together, but the one I followed (and recommend) does them all at once.
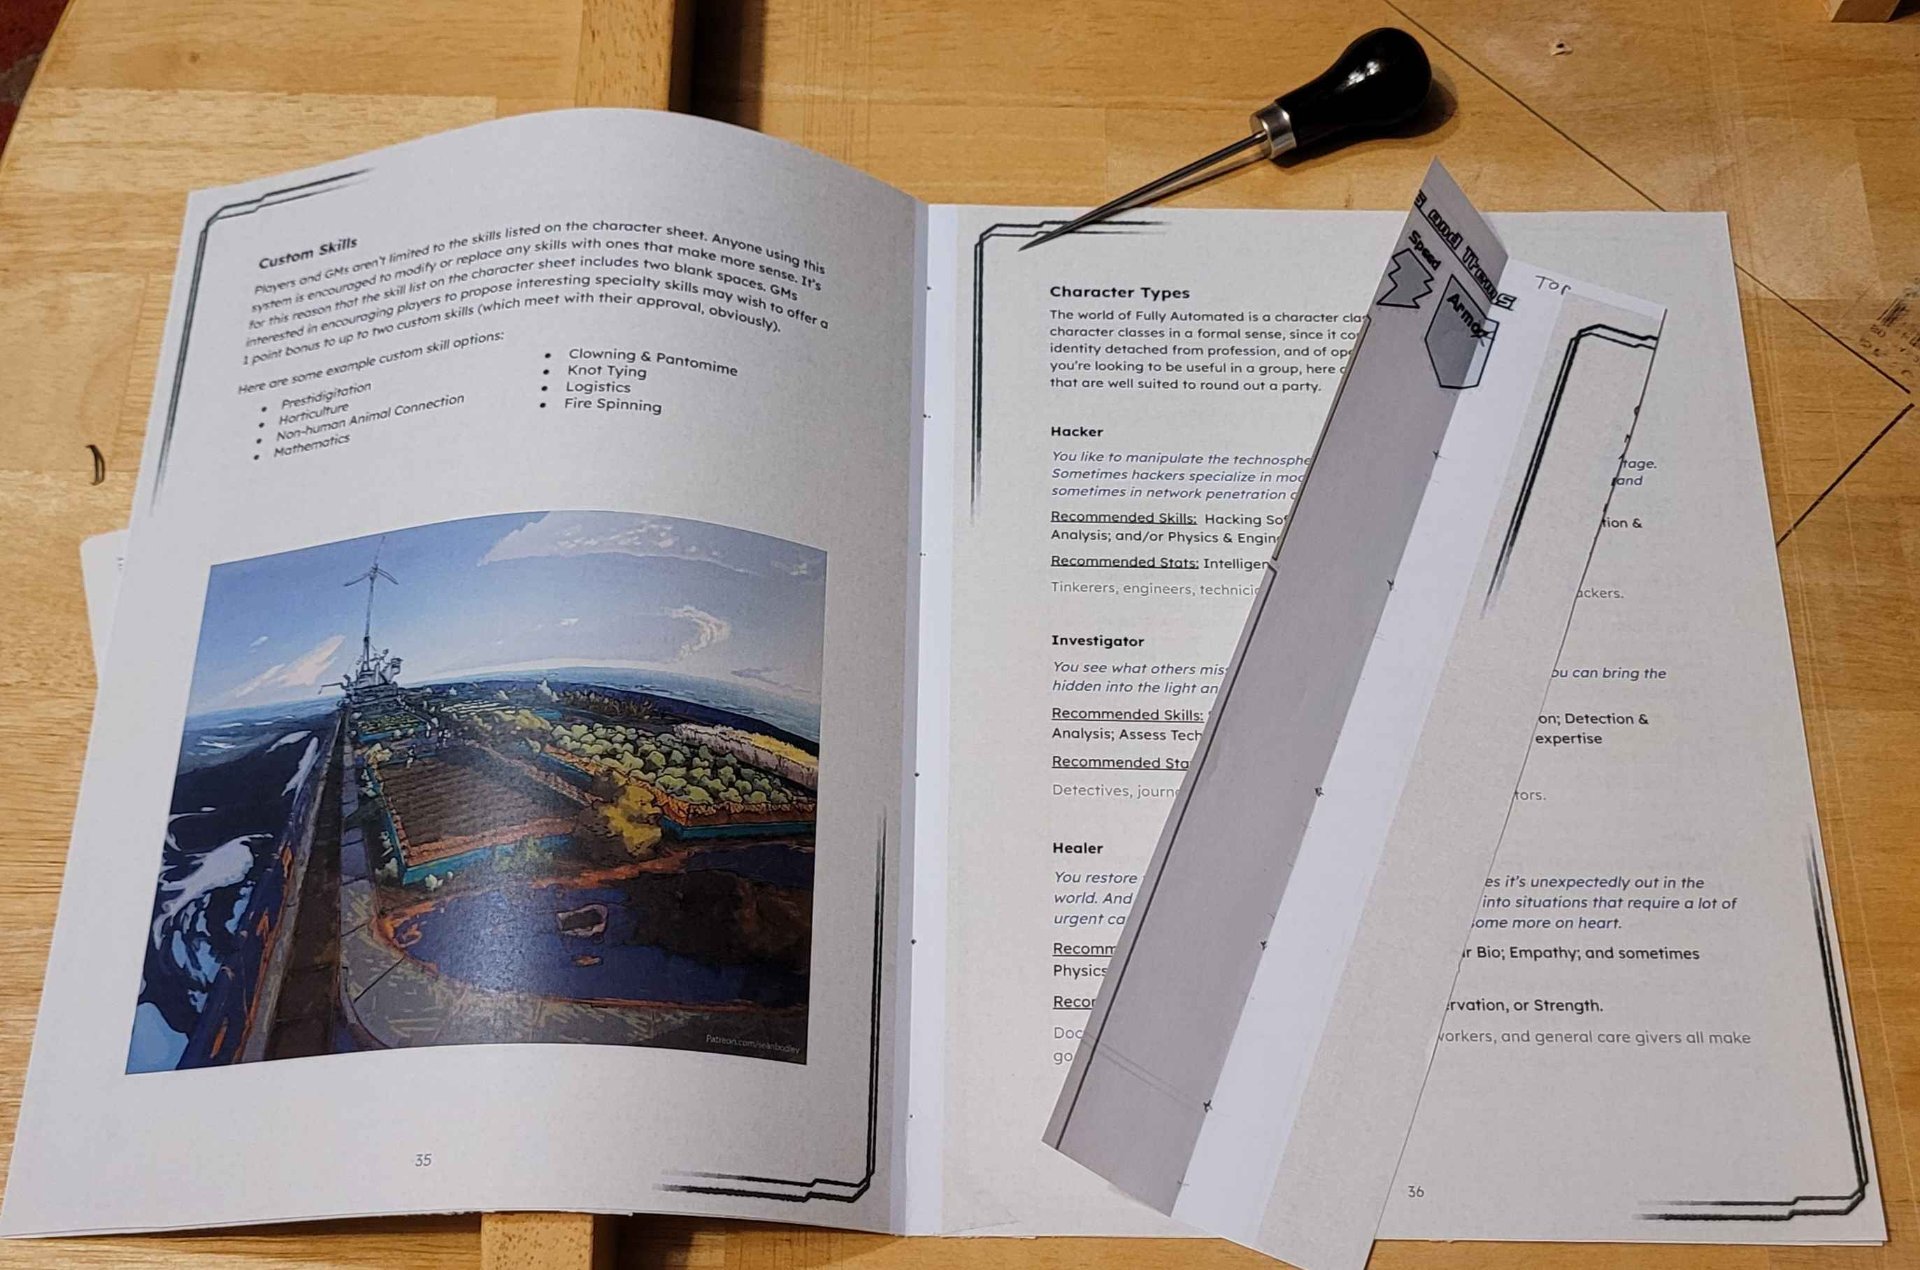
The folded piece of paper is a template marked and punched so all the holes in all the signatures line up as closely as possible.
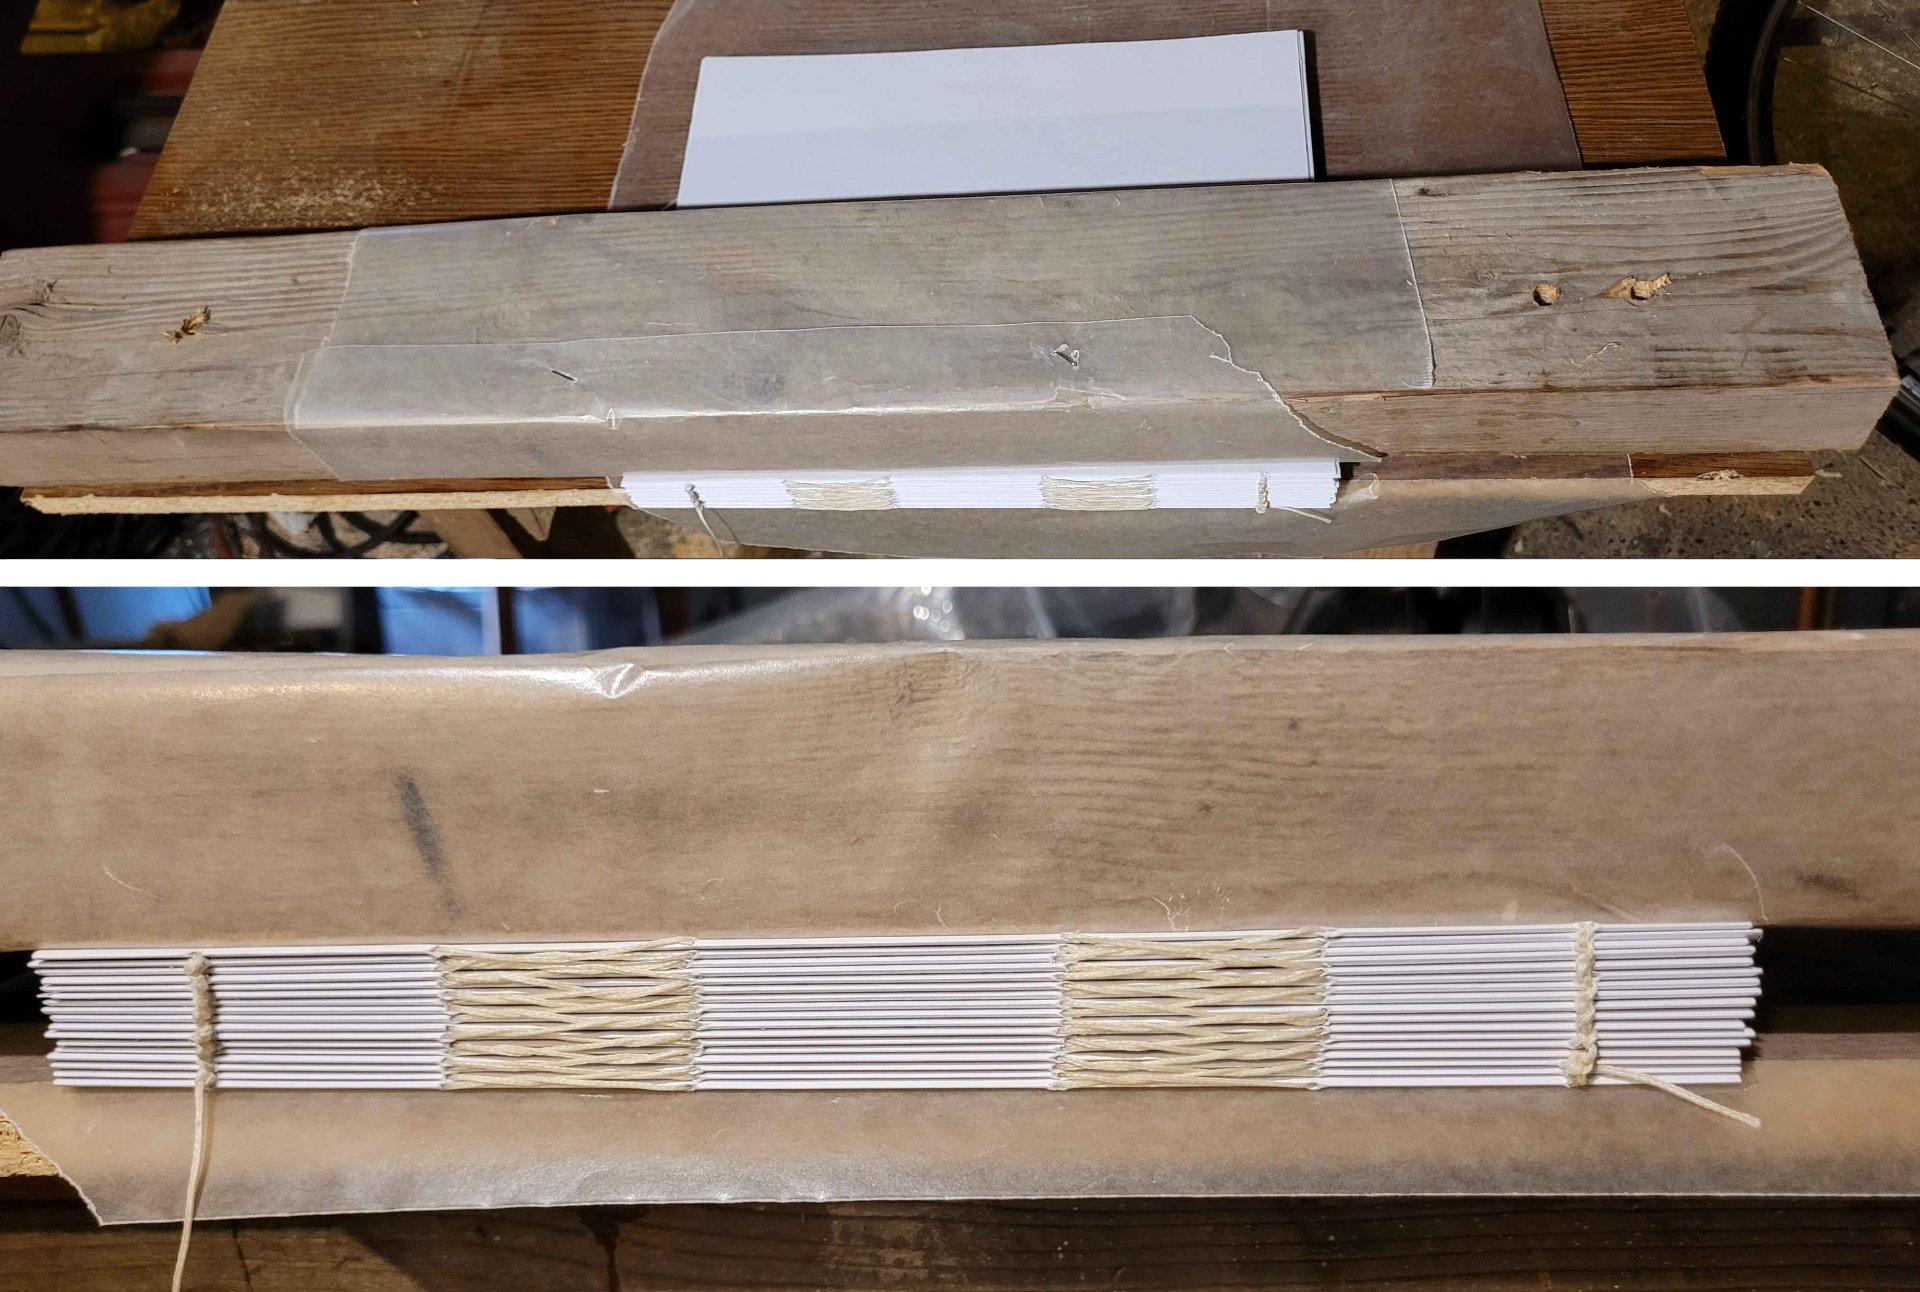
Next, I sewed it together using the Penrose Press guide, being careful to pull the threat as tight as I could before tying it off on each signature. I really like how secure this seems to make the binding.
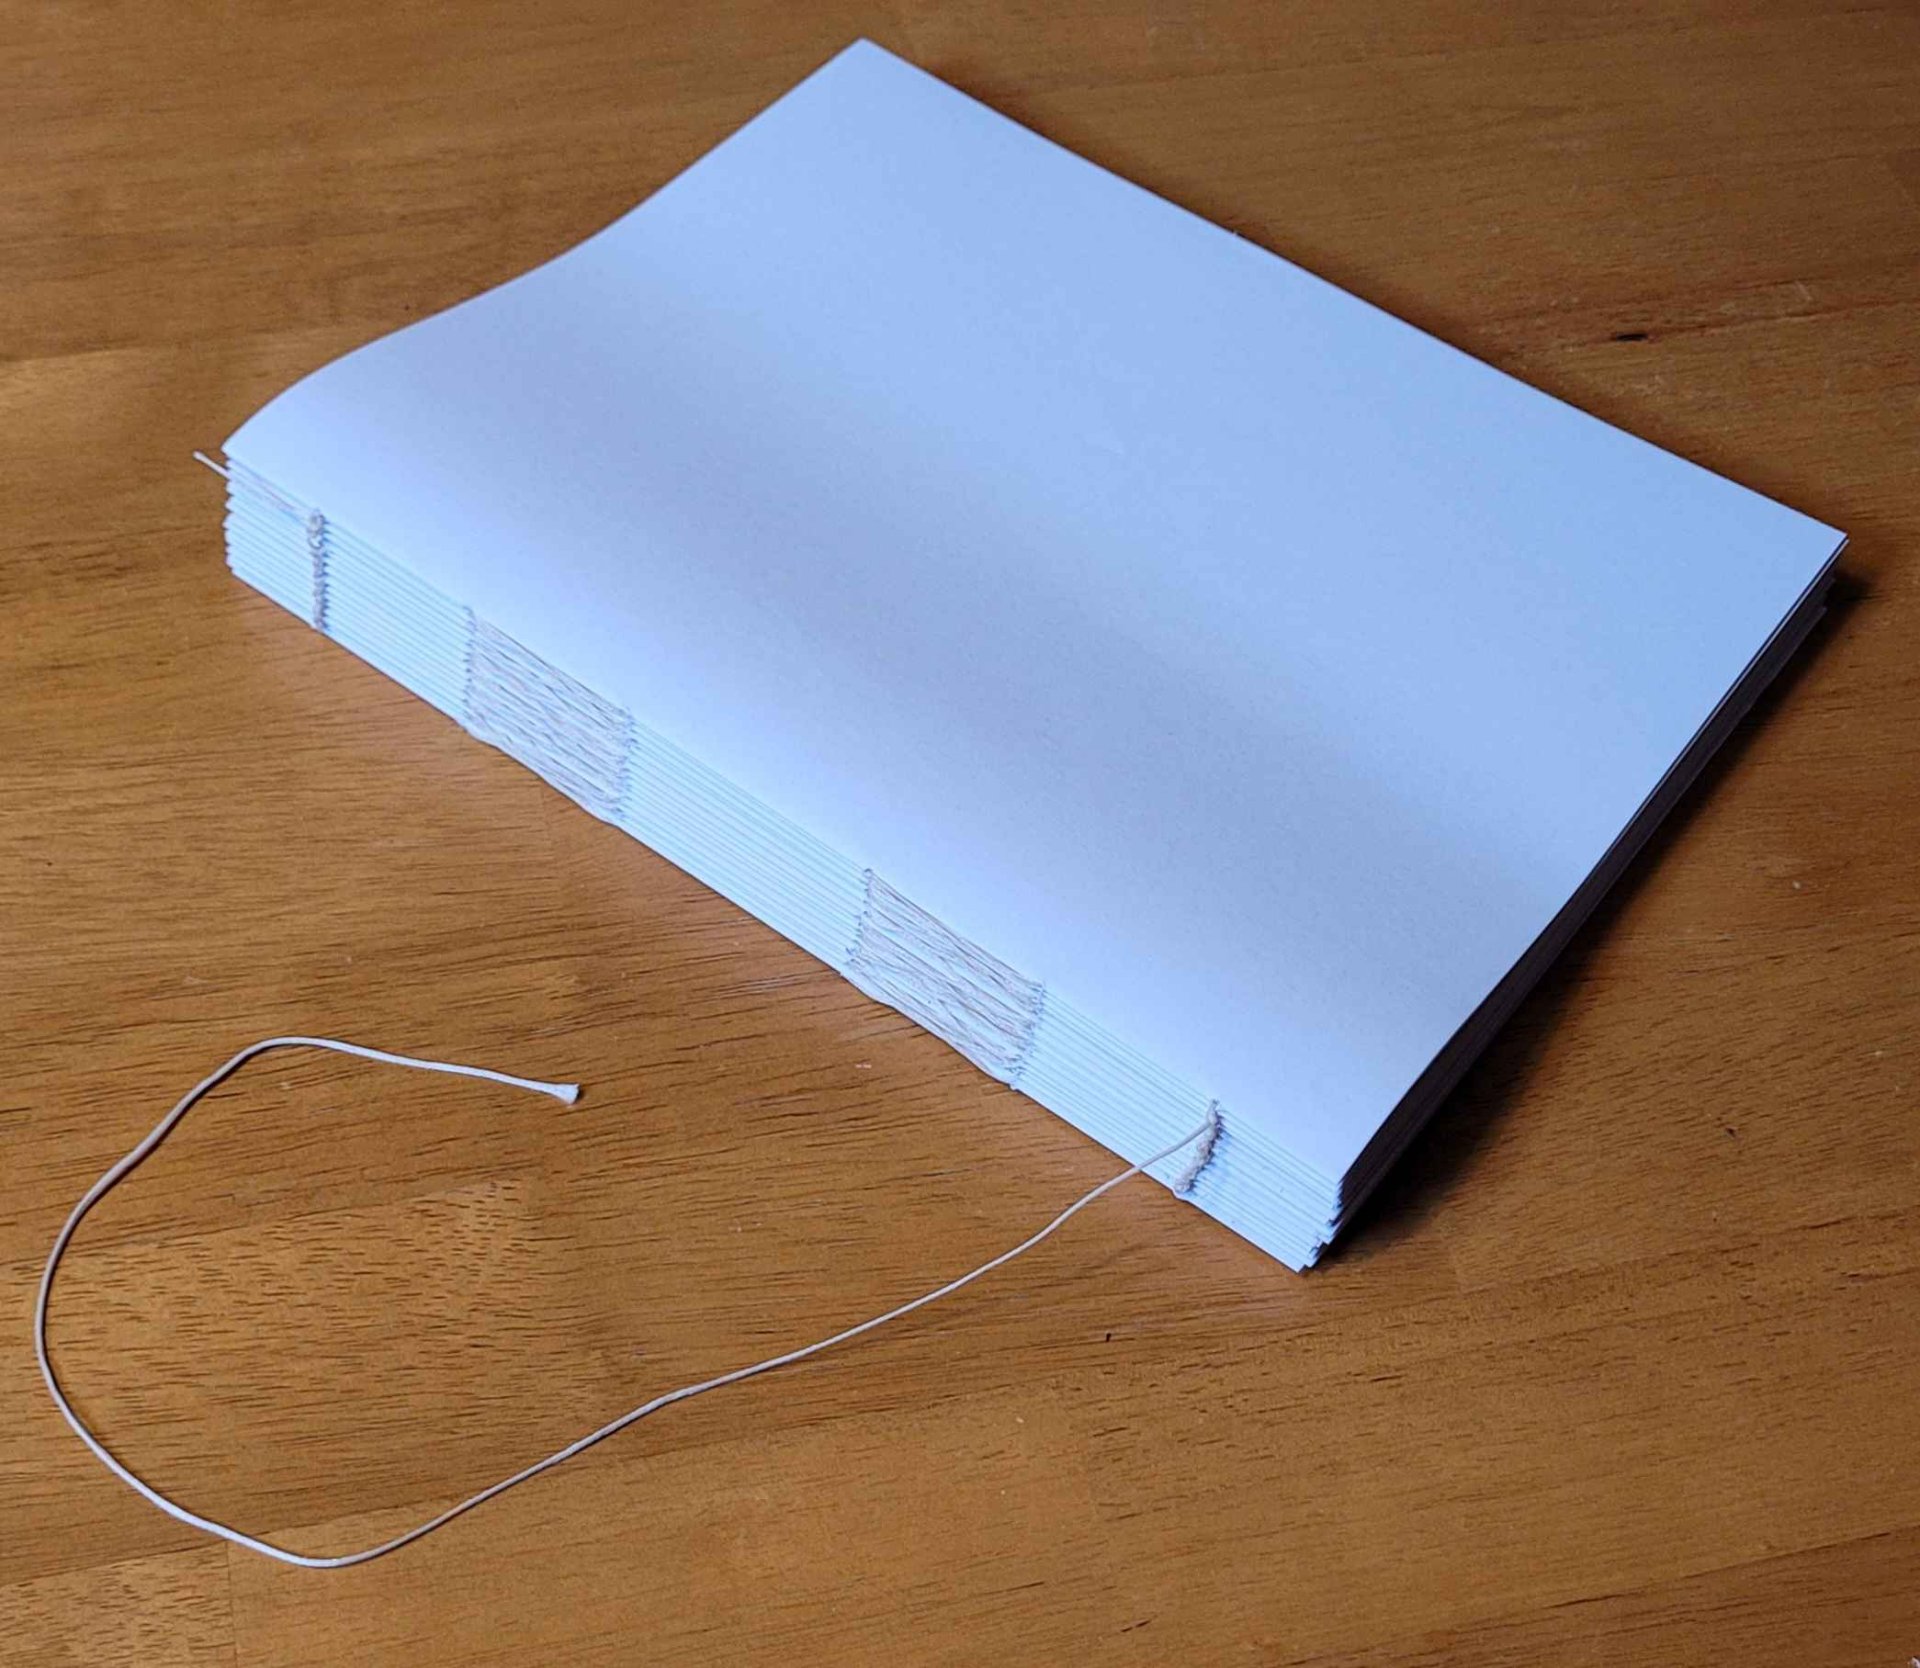
Even if you tie it tight though, it’ll still have some gaps. That’s were clamping and gluing it helps! The guides I followed suggested just stacking books for weight at this part, but I went ahead and built a really ugly book press with a piece of scrap particleboard, scrap 2"x4", some wax paper, and a couple deck screws. I pre-drilled the holes, wrapped the boards in the wax paper, and screwed them together so the book block could be clamped between them:
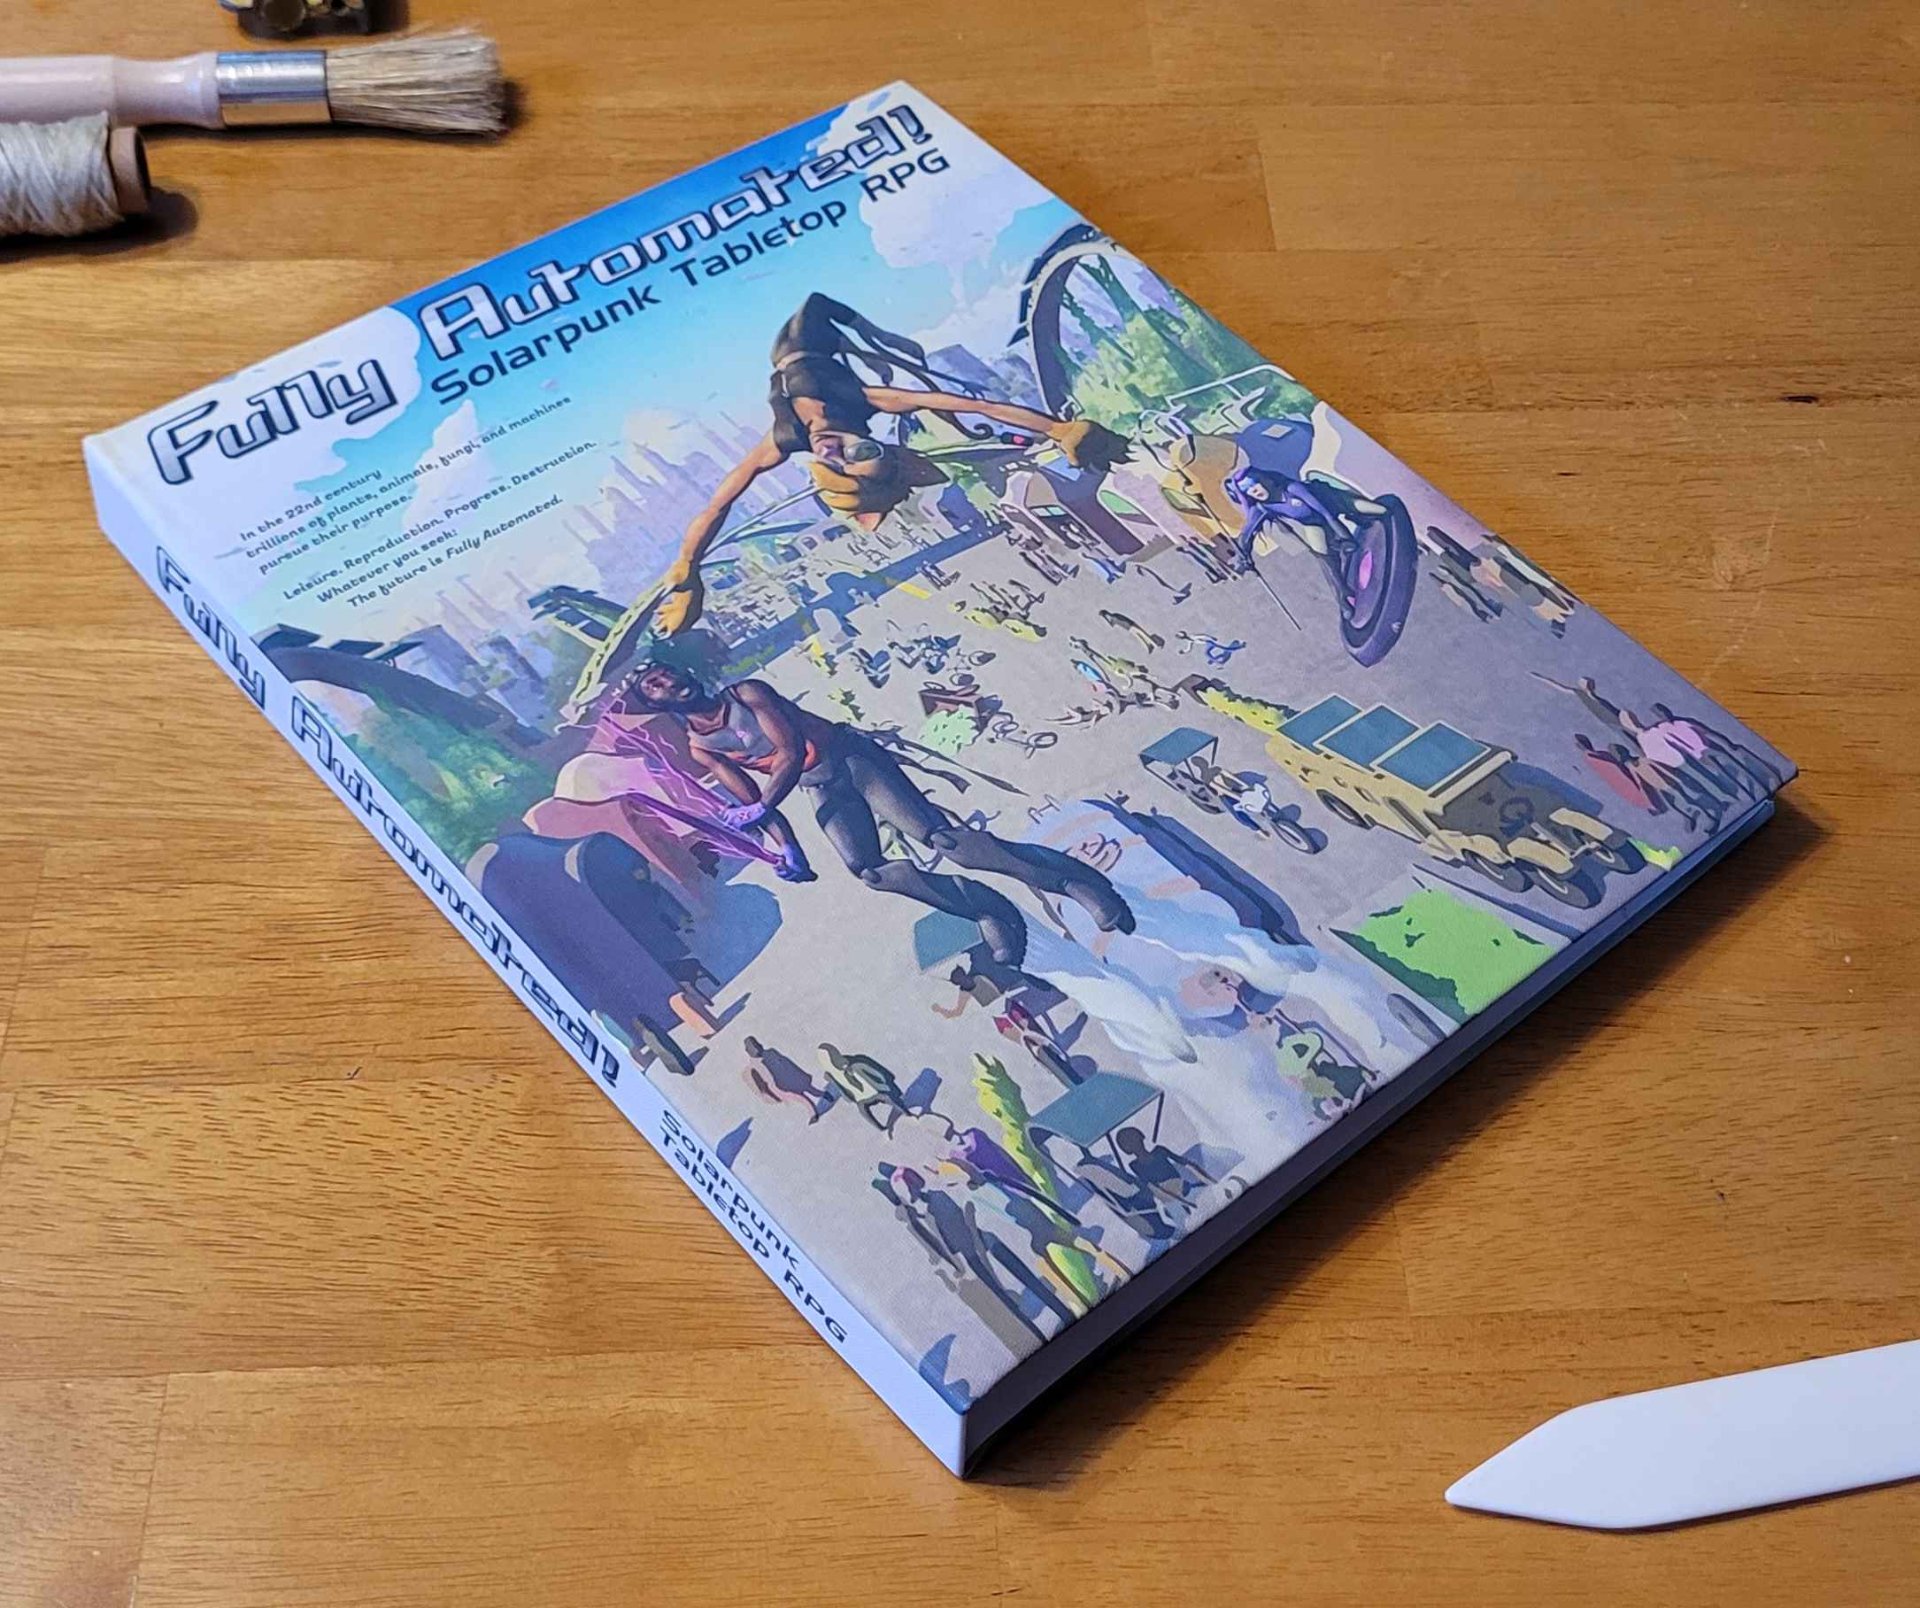
That’s when scope-creep hit and I switched plans from making this first copy a softcover book to making a hardcover.

I followed my SO’s bookbinding book, and this guide for the spine, and added a section of cheesecloth (in place of mull, which I didn’t have) and manila paper in roughly the dimensions they specified. These help hold the spine together and attach it to the cover (called the case).
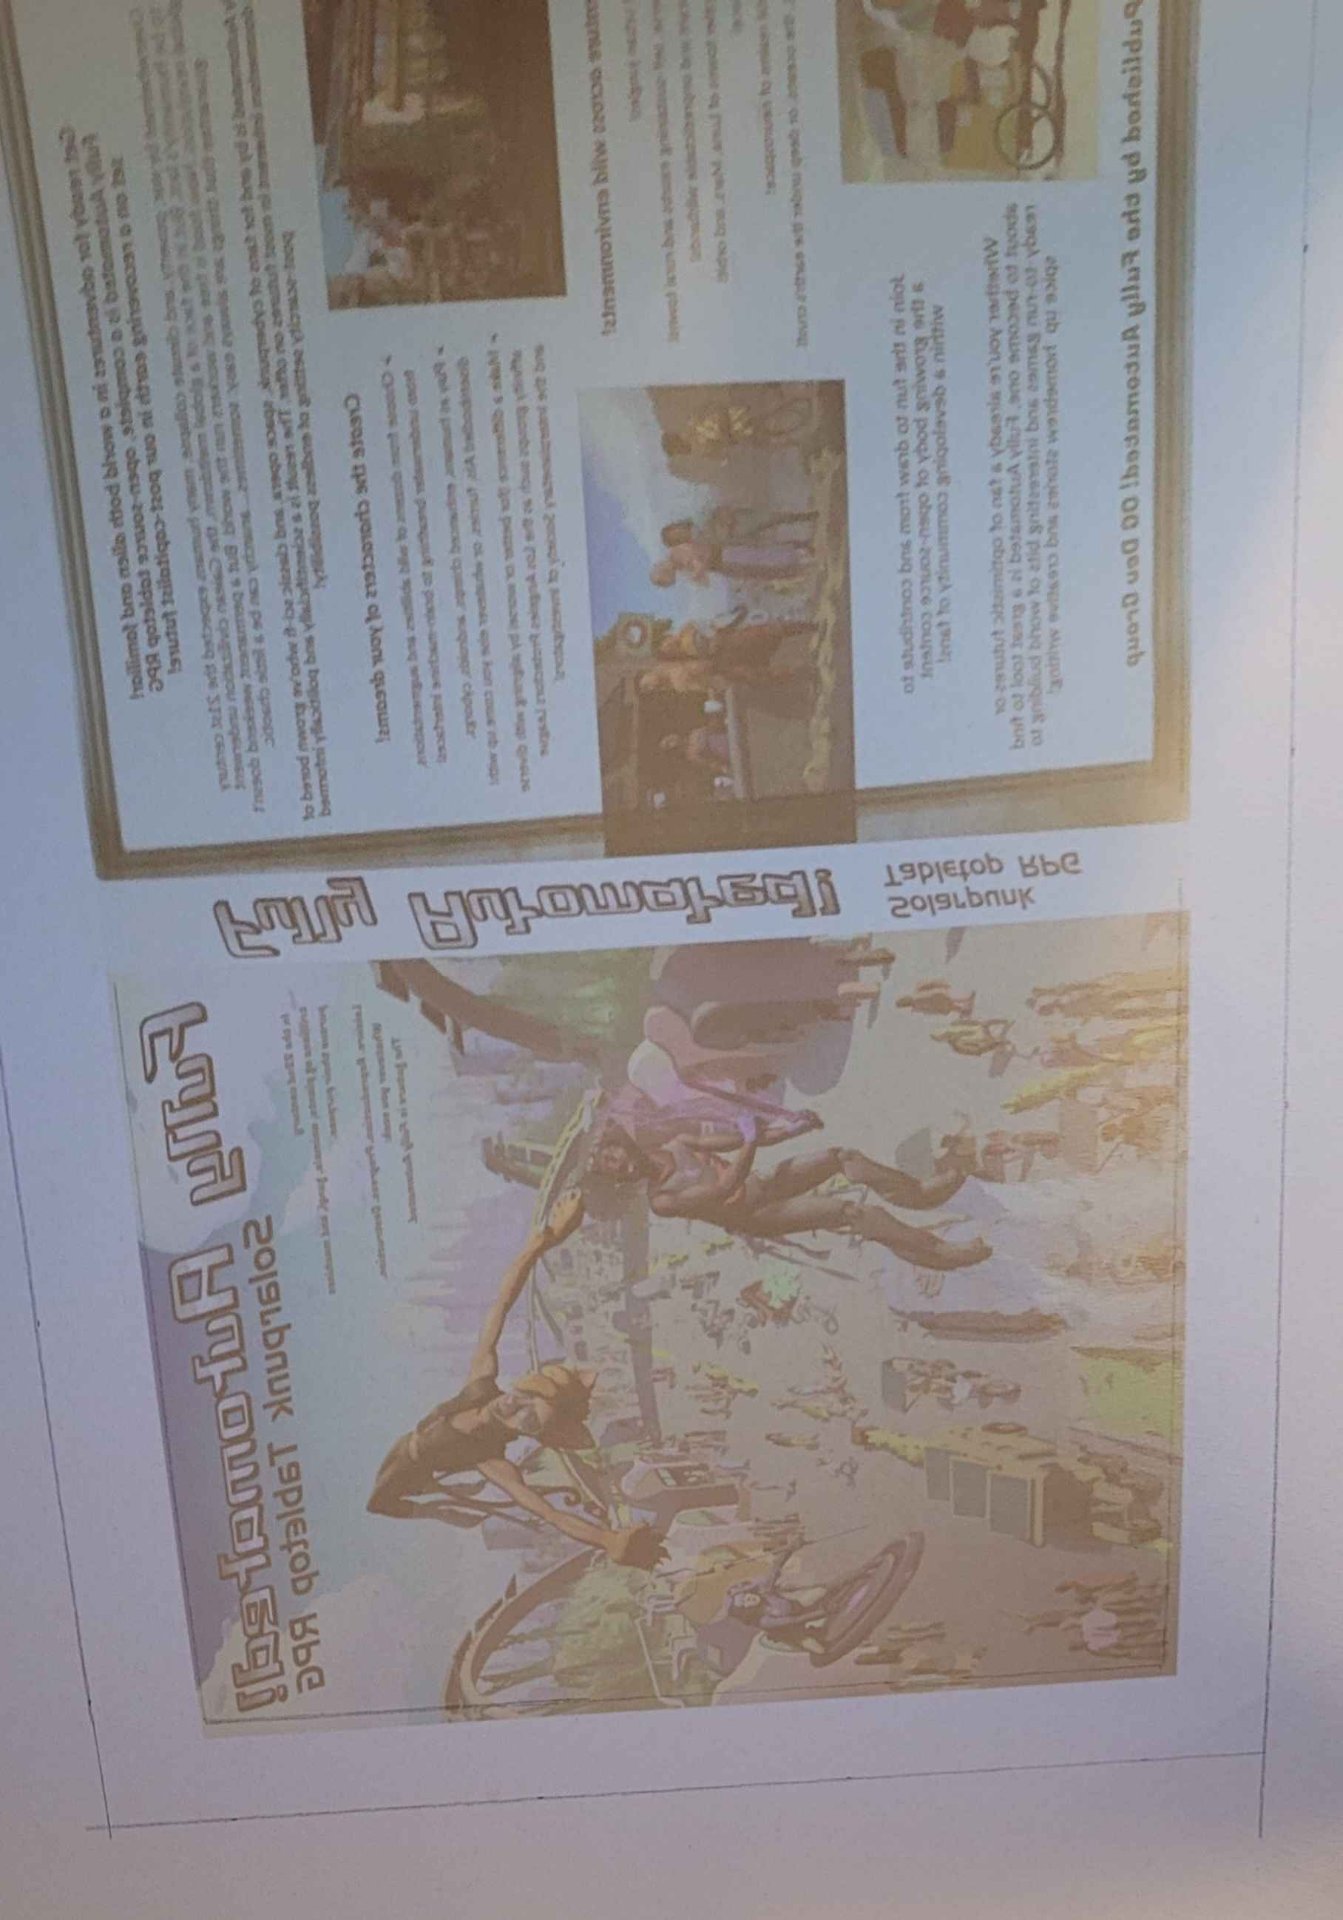
Next, I roped the Fully Automated folks into making a back cover for me, and I put together a printable version with a spine and everything. I took a lot of measurements, made my best guess, then went to our local makerspace to print it on their plotter printer:
It’s slightly large but I’m happy with it!
The next steps came pretty much entirely from this guide.
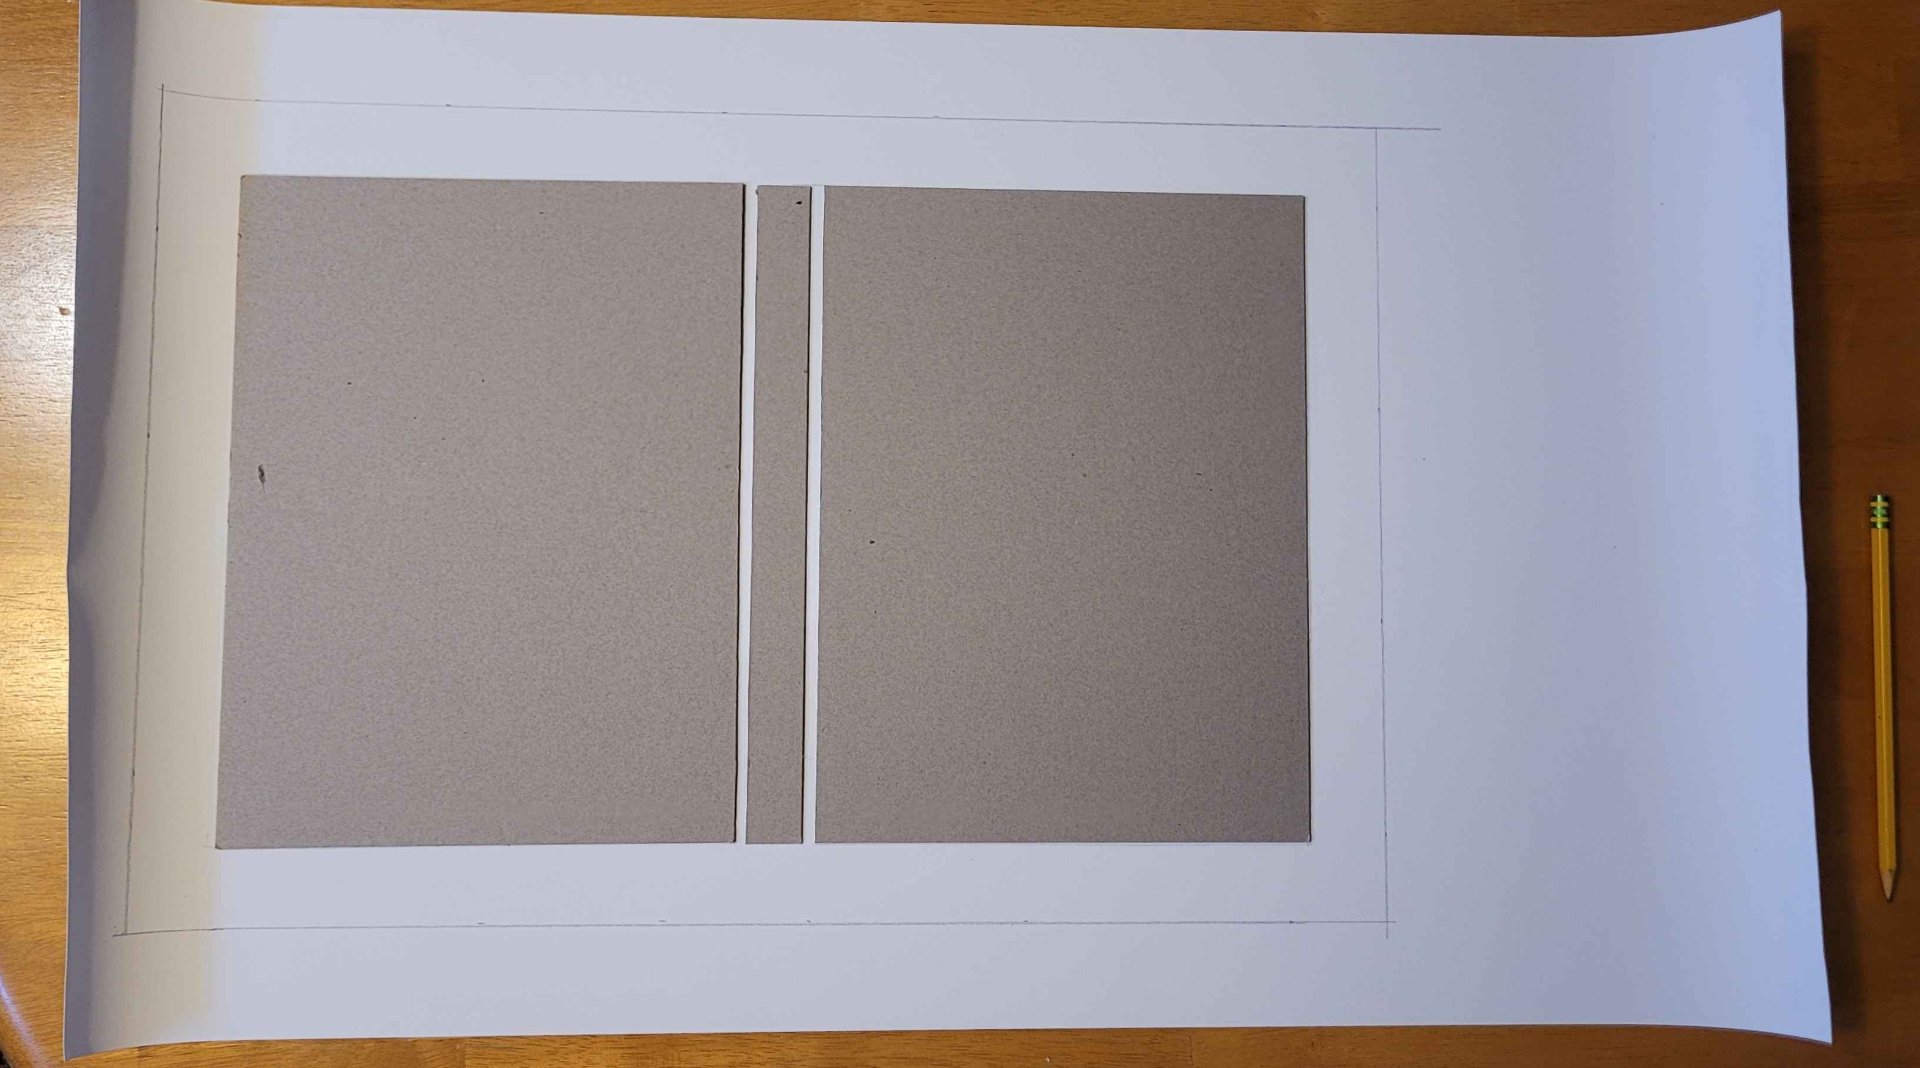
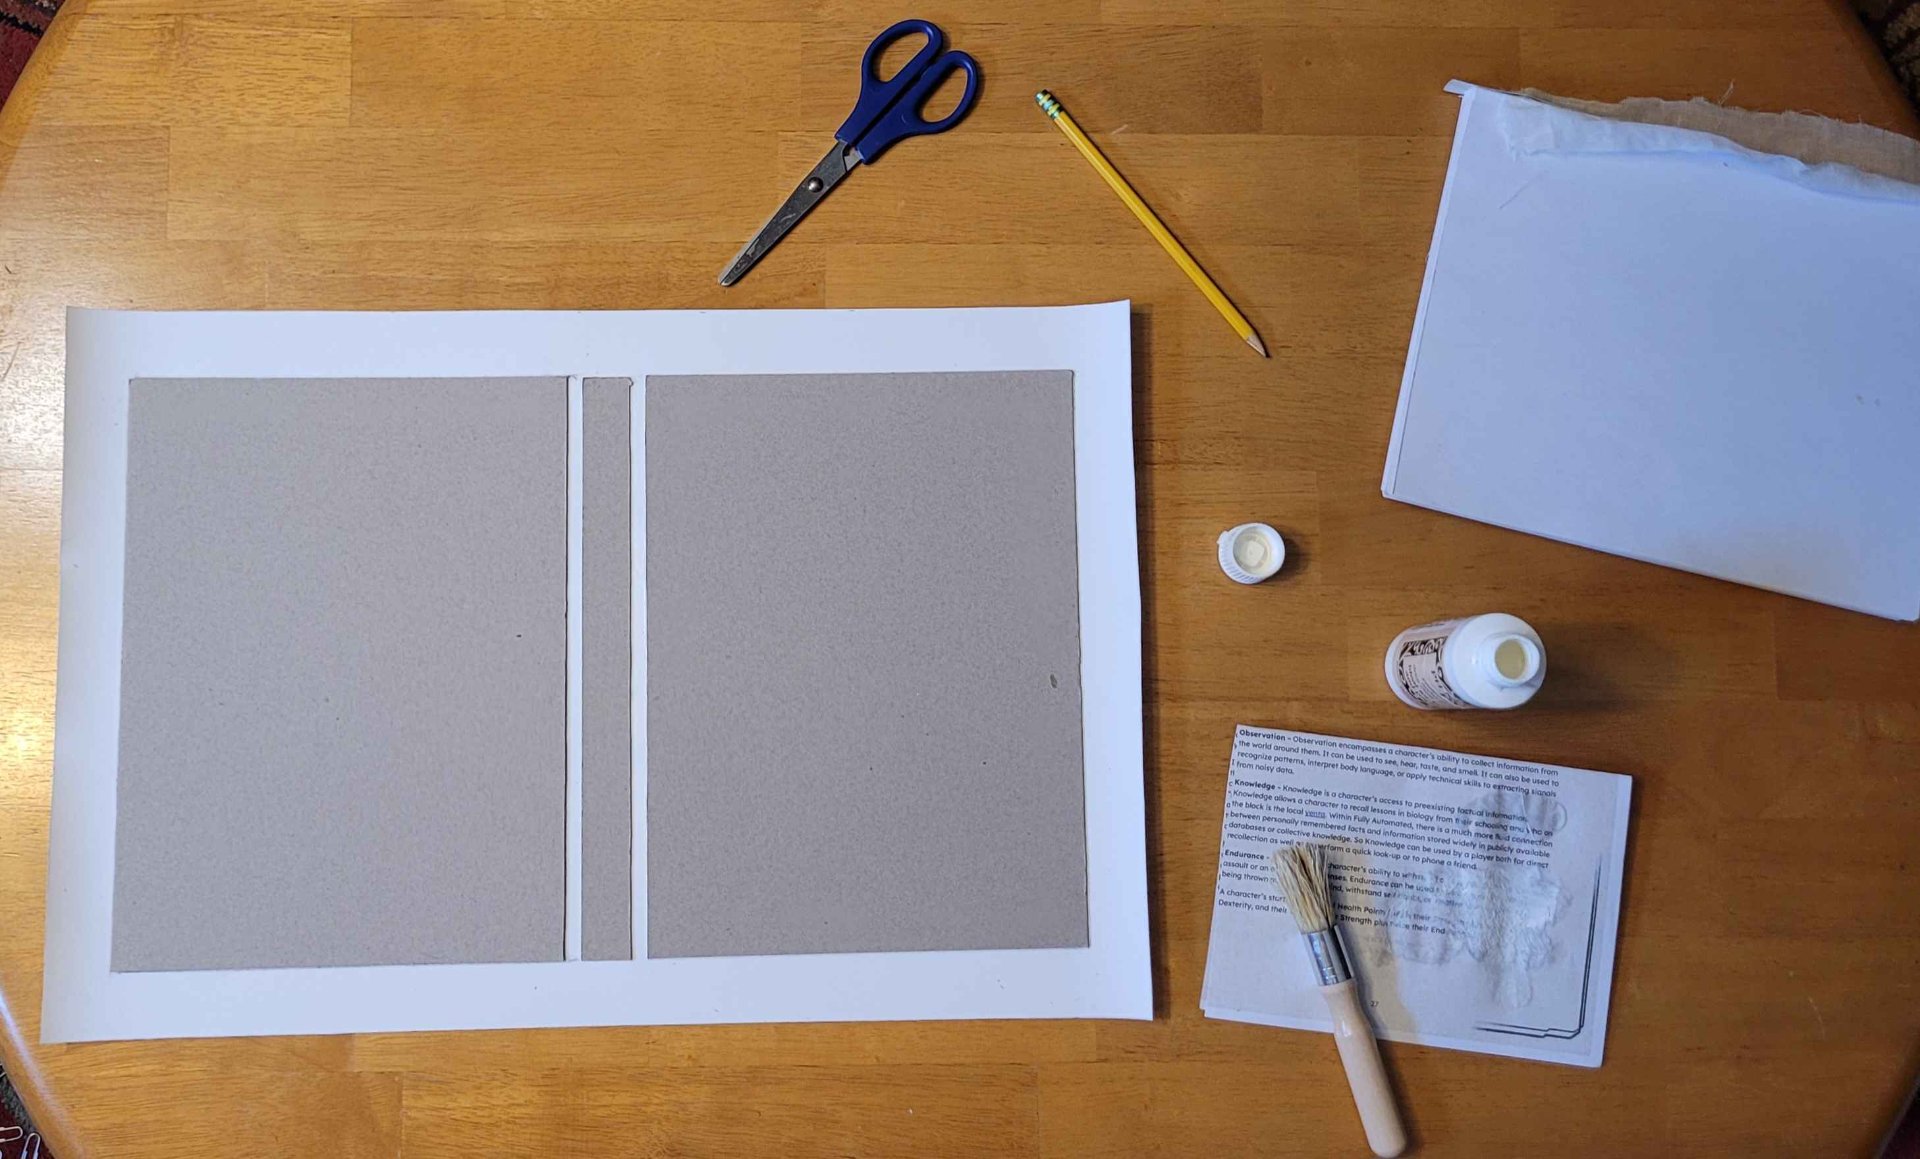
I cut some bookboard (stiff cardboard) to size, and did my best to line it up with the image showing through the canvas. Once I had them in place, I traced them lightly onto the back of the canvas in pencil, held it up to the light to see if it was good, and made corrections until I had good lines. Then I measured out to the edges of the sheet and trimmed it down:

Then I glued the bookboard to the canvas:
I forgot to take some pictures for the next step (sorry) so you’ll have to rely on my descriptions. First I cut the corners off the cover at a 45 degree angle 1/8" out from the corner of the bookboard. I used a carpenter’s square to mark the angle. Then I folded the sheets over the bookboard and glued them.
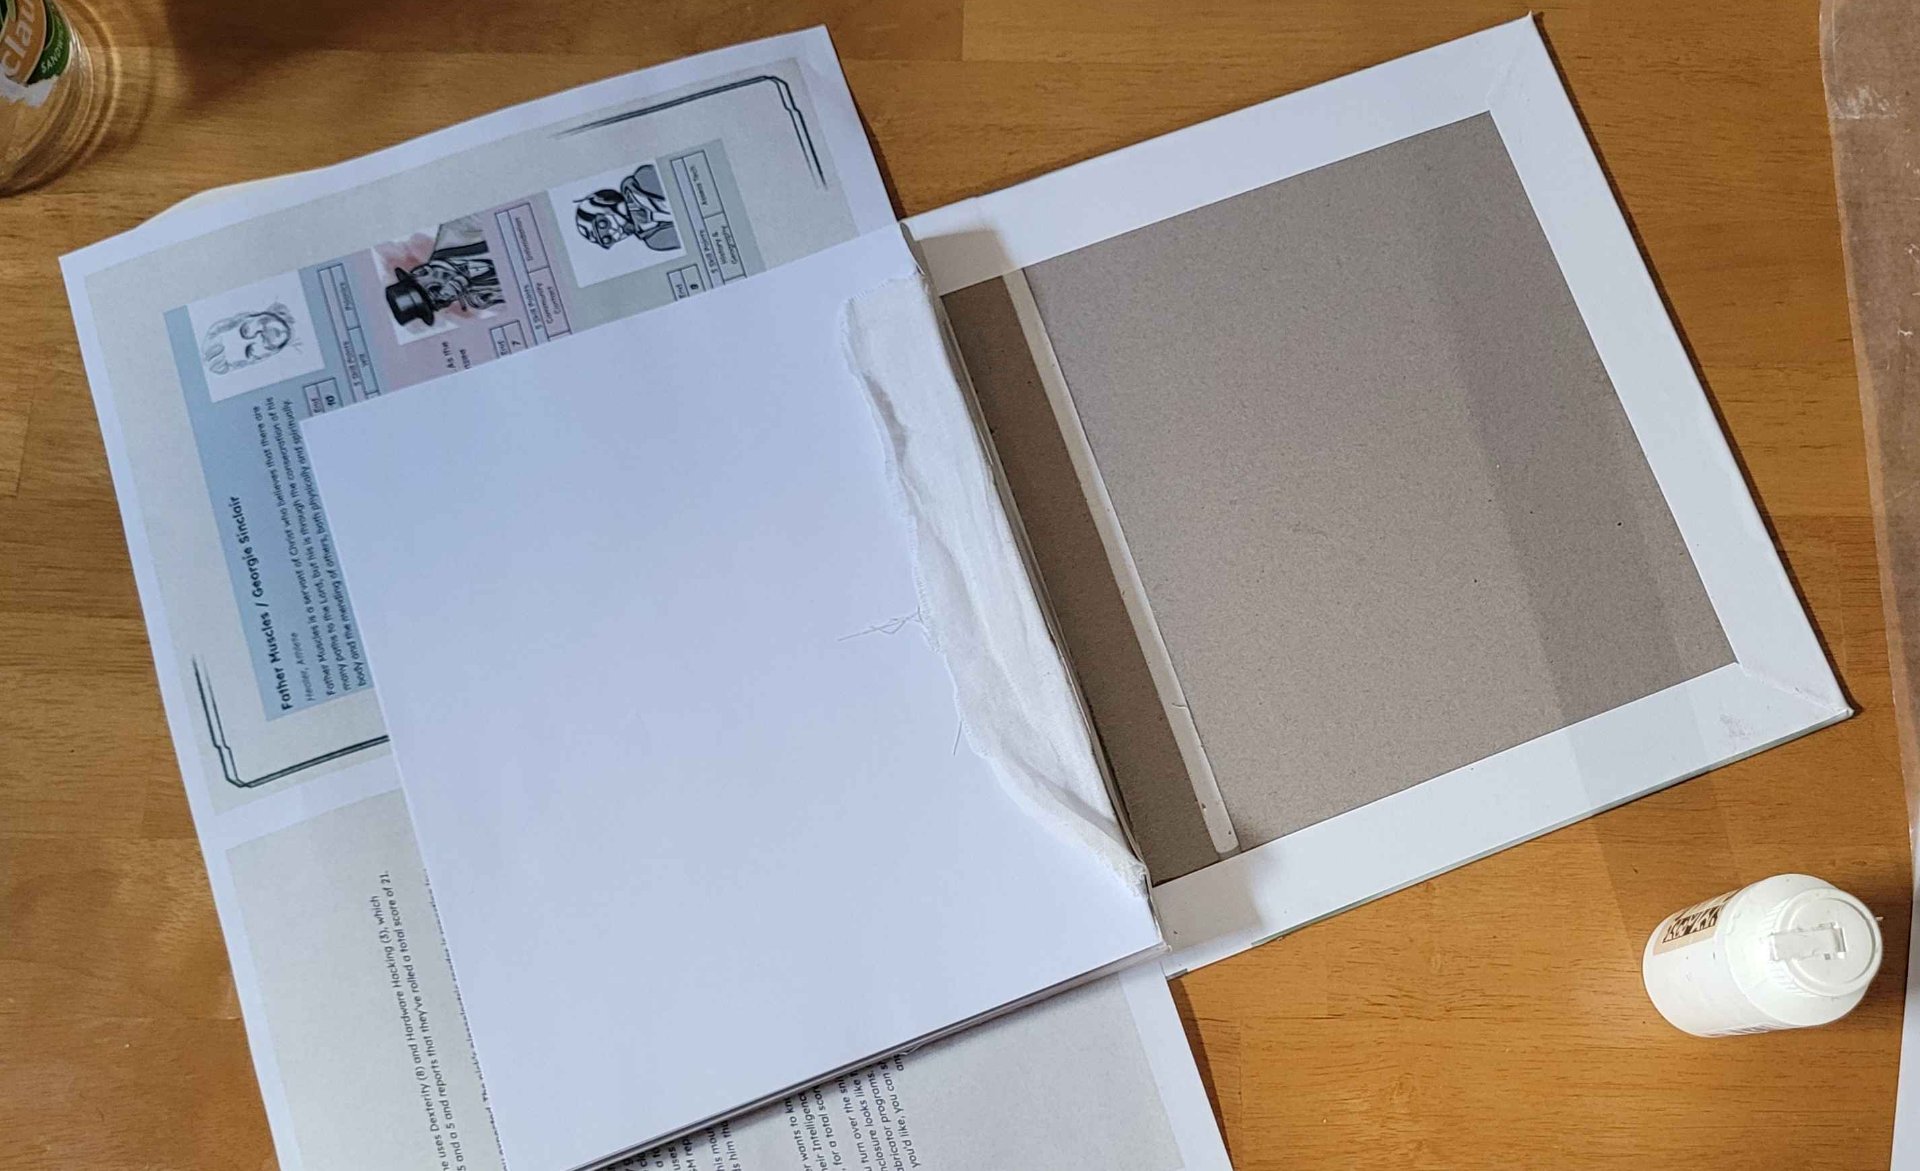
Then it was time to glue the book block into the case. This happened fast enough that I didn’t dare stop to take pictures. I slipped some wax paper between the endpaper (a blank sheet I included on front and back when I used the interposing software) and the rest of the book block. Then I painted it with glue as quickly as possible, being careful to first glue the cheesecloth to the paper, then painted it over with glue as well. Then I carefully closed the cover onto the sheet. The endpaper was just about a liquid at that point, despite how lightly I stippled on the glue, so I’m glad I didn’t have to try to make changes. I flipped it, and let it dry for awhile.
Then I repeated those steps on the other side and left a heavy laptop sitting on it.
Its always tense waiting while the glue dries on a project, hoping its not clamped crooked, or the glue isn’t running and sticking to something it shouldn’t. Especially when you’re combining the end result of two other projects. Luckily this one turned out mostly okay:
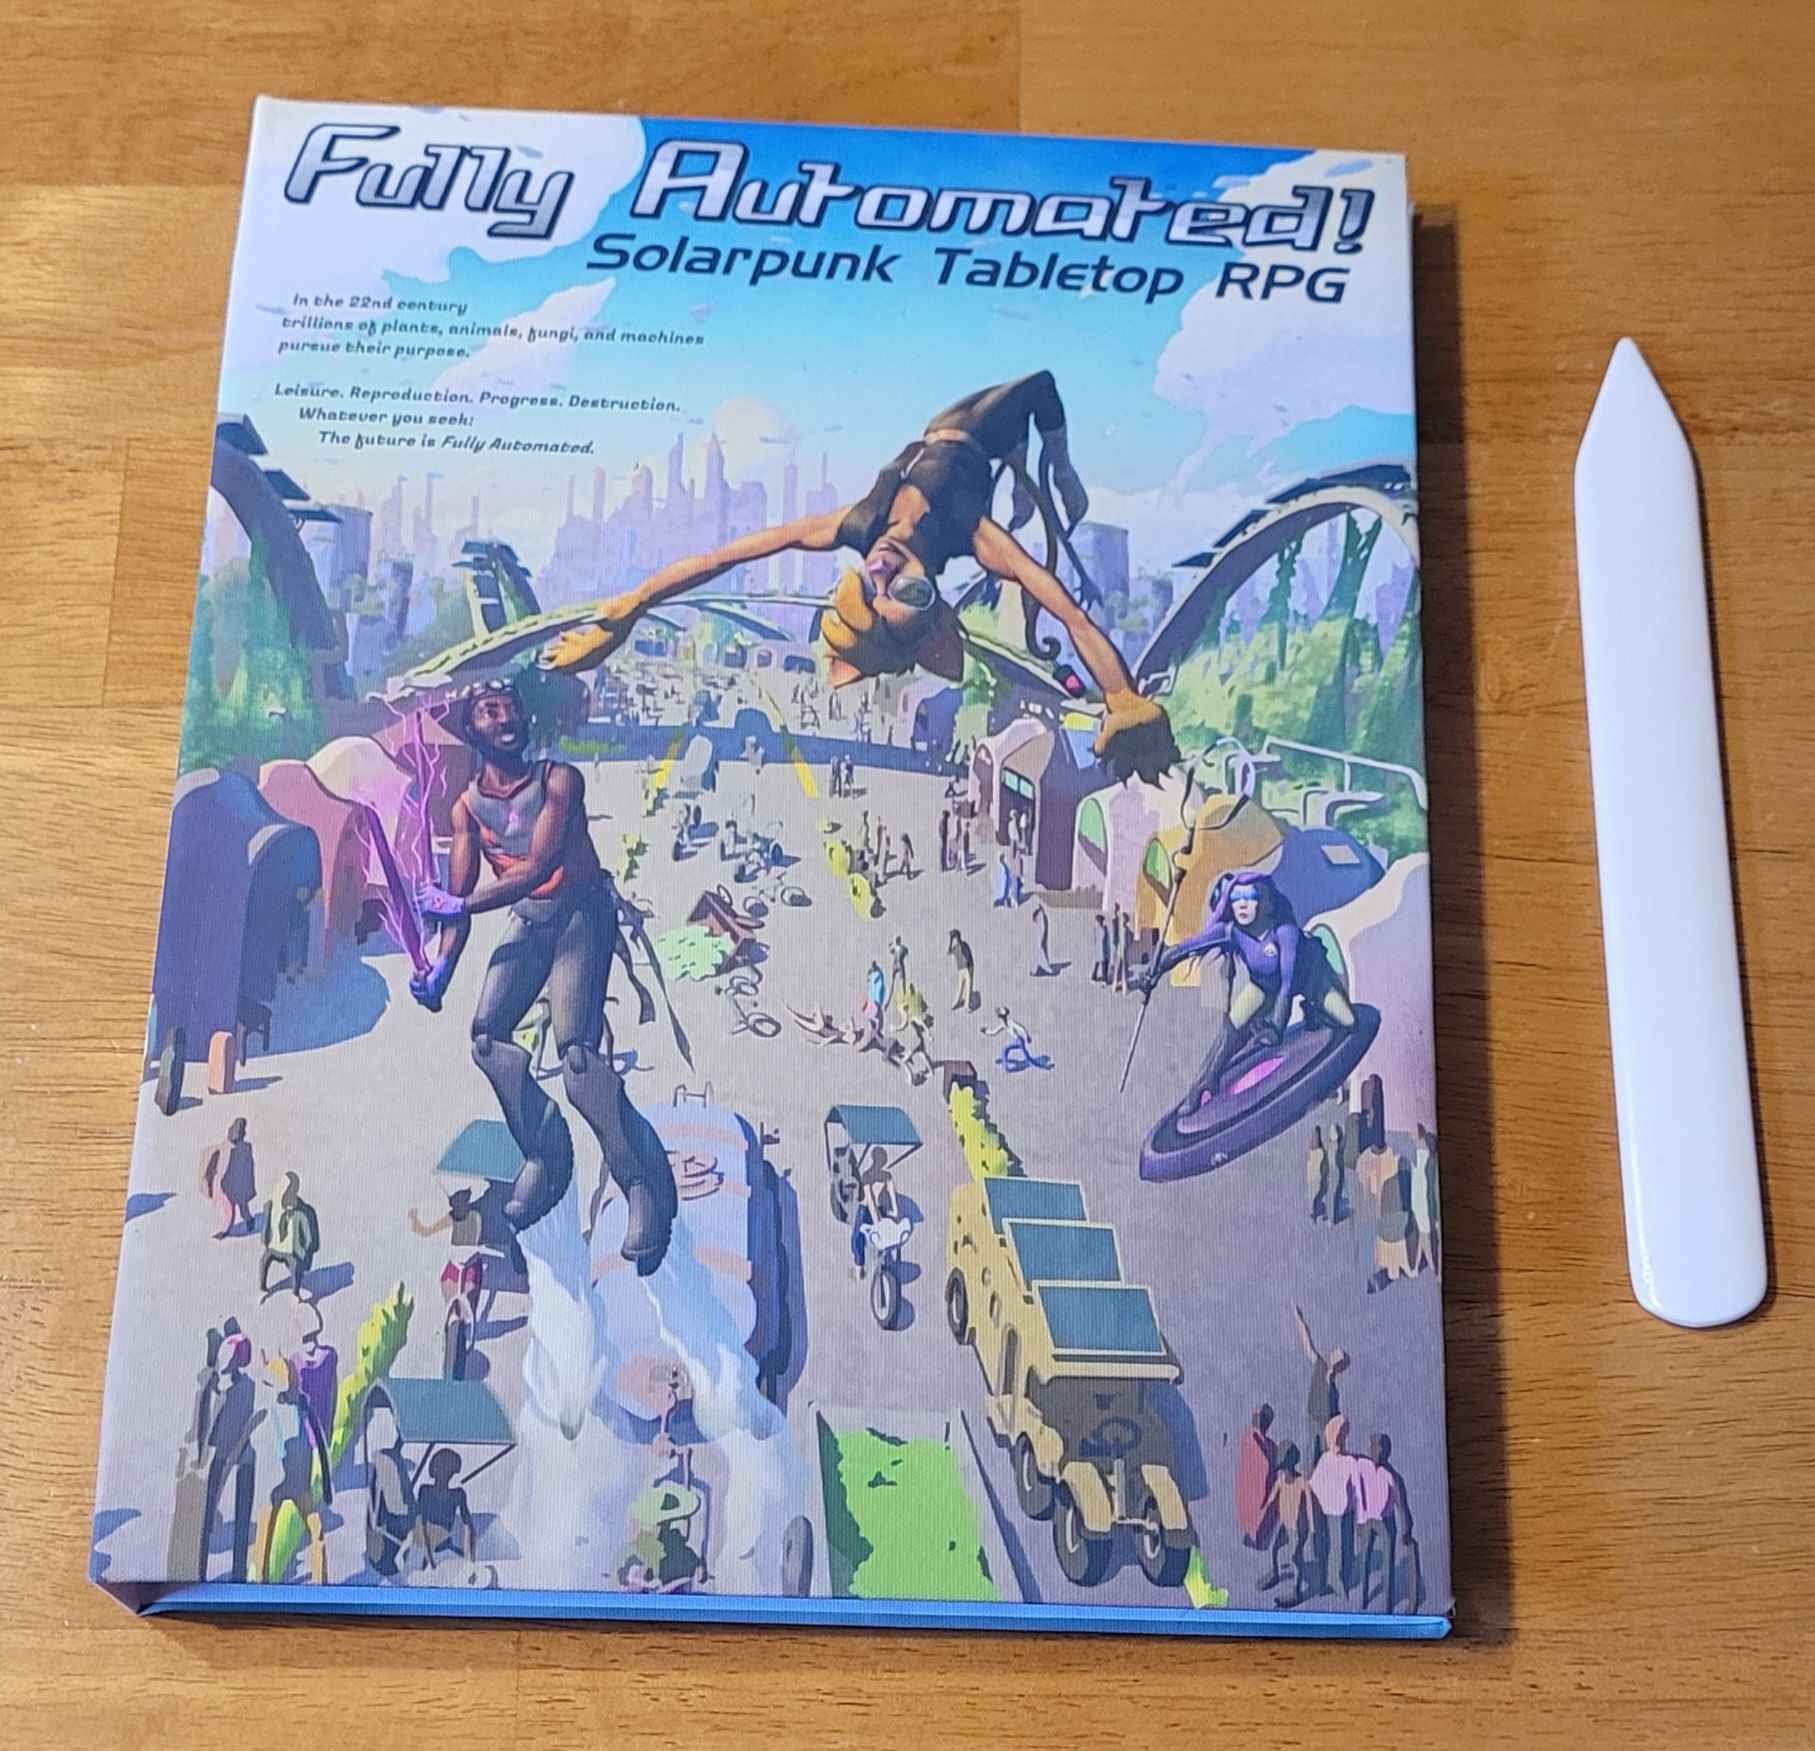
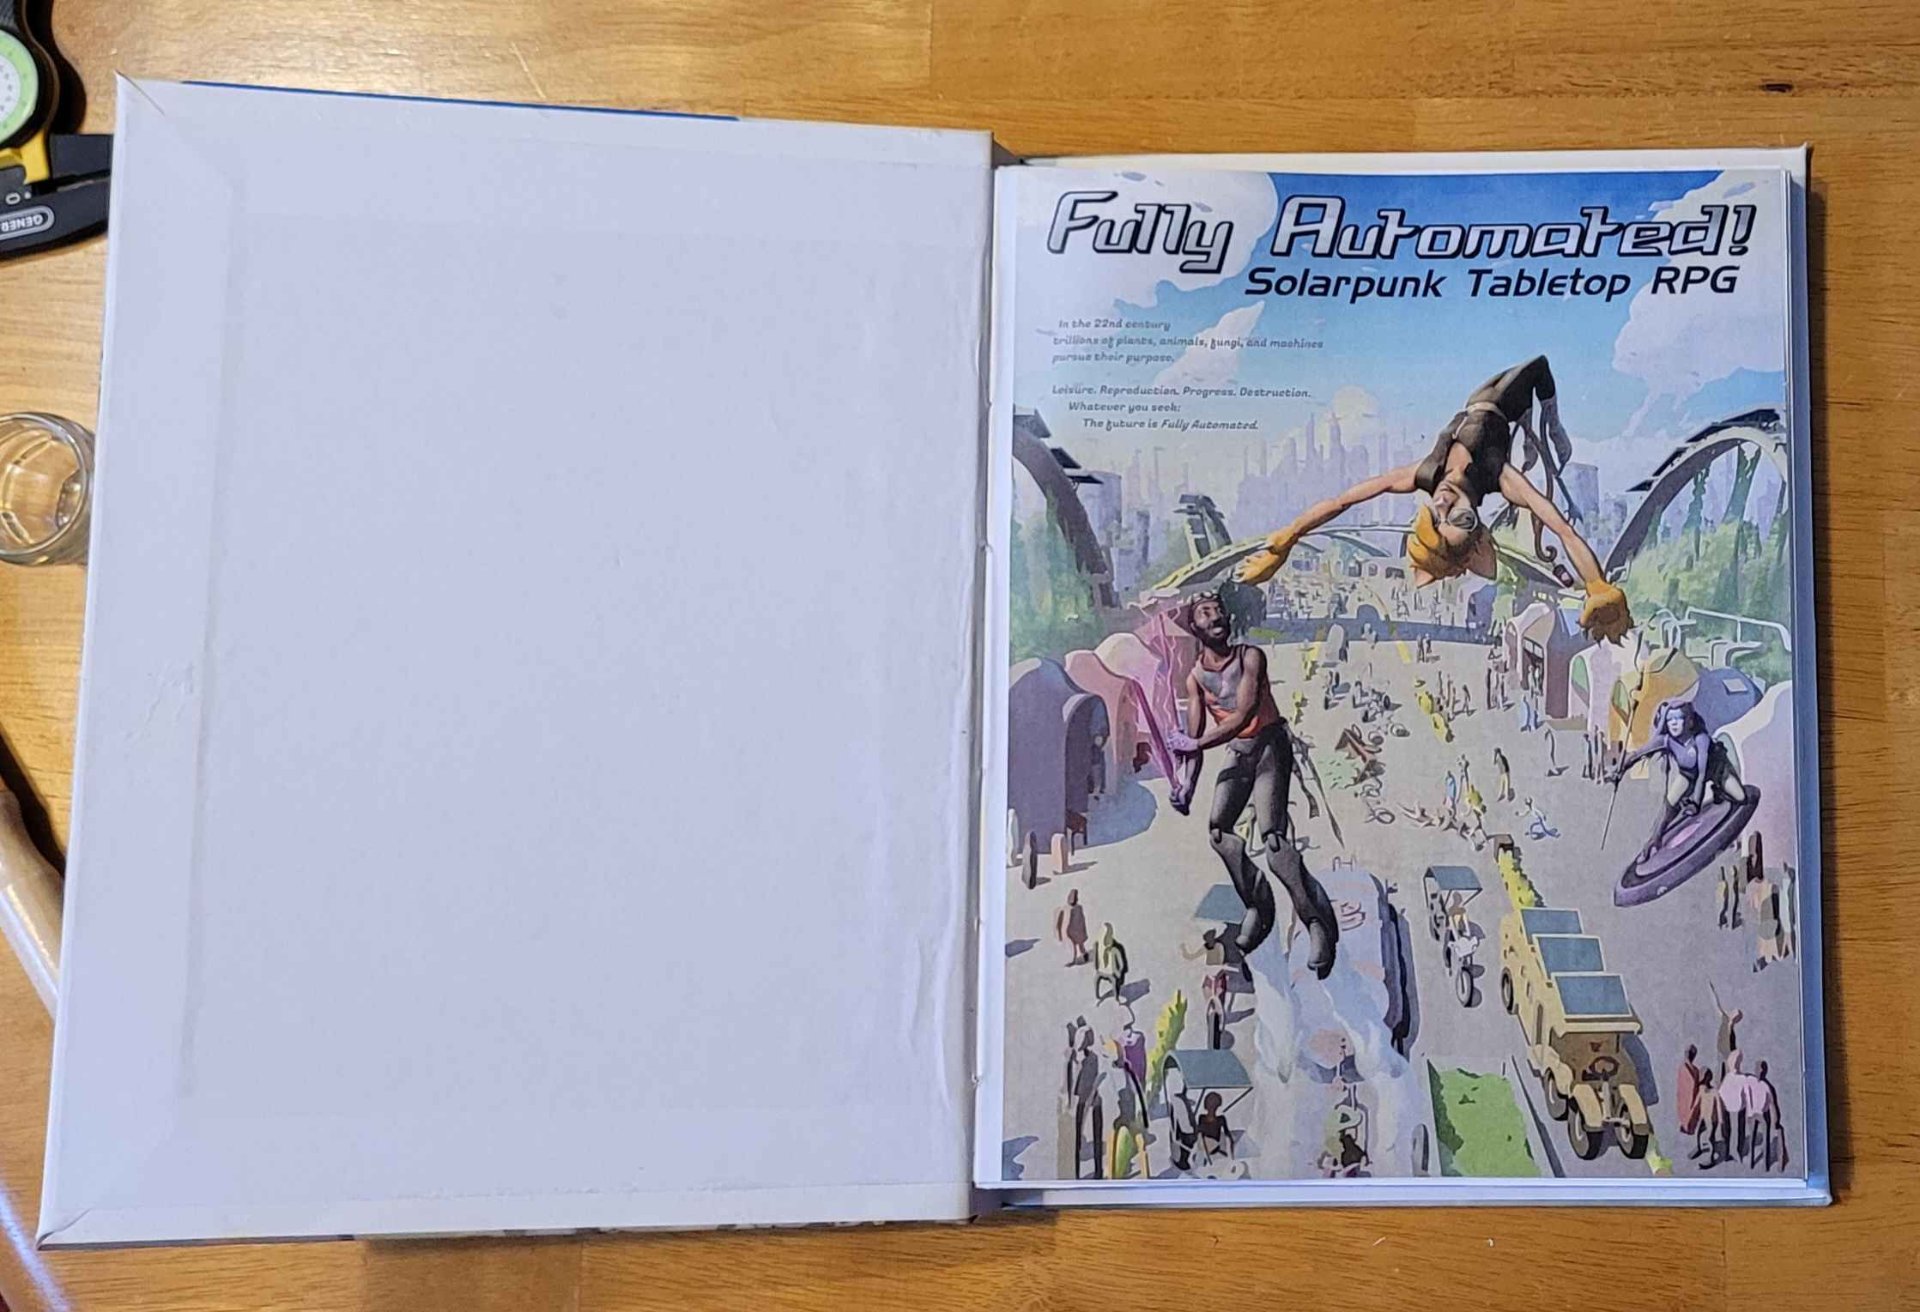
I can see where the endpapers stretched (just like one guide said they would) causing them to reach further towards the fore-edge than I’d have liked. But it generally looks pretty smooth and clean so I’m not very bothered by that.
All in all, I think not bad for my first bookbinding project!
This is just nuts! I dig DIY guides, but bookbinding really is something special.
I can’t believe how effortless you make it look. It looks like you’ve done this a bunch of times!
Thank you so much! I’m very grateful for the sheer amount of high quality guides and resources available for free - the bookbinding community seems to be very generous with their knowledge. I basically just read and followed them carefully. I’m also lucky to have access to some great workspaces/tools.
Certainly looks like it came out great. I loved the write-up, too. Extra points for figuring out what you actually needed to make an effective press.
Thanks! That reminds me: one thing I did on the second and third book blocks was clamp them further in, so they were more or less flush with the boards. (I think the bookbinding book said to let it stick out a bit). That let me compress the spine an extra millimeter or two, so it wasn’t as flaired as on the first one. I think it’s always going to be a little thicker on the spine side because of all the folds and thread, but I think this looks better.